
Probably the hardest part to understand , but , you do not have to understand it to do it!
Now we need to make a .bin file to program the EPROM that you have chosen ( or have laying around!) .
Just a reminder of what can fit on what eprom.
| Eprom (or compatible) | 8KB Images for the +8 | 32KB images for the +32 |
|---|---|---|
| 27C010 | 16 | 4 |
| 27C020 | 32 | 8 |
| 27C040 | 64 | 16 |
| 27C080 | 128 | 32 |
Remeber this is the MAXIMUM number of images , if you only want 1 or 2 then you can put 1 or 2 it is up to you provided you set the RomMax value on the arduino program .
I use a file editing program called HxD , It has shortcuts that make it easier and , it is FREE!
The easiest way to start is with a blank file of the right size and a directory with the bin files for the images you want on your multicart .
Here are blank files for the Eprom’s (in zip format you will need to unzip them ) , download the one that you need ( or download them all to use later ) .
Now we need to talk about image sizes the main problem people have is understanding Hexadecimal numbering ( you need to know where to start each rom from when you paste it into the file! ) , however i have created a chart for each to show you where it should start . Don’t worry about the end it does not have to fill the whole space but MUST start at a specific point.
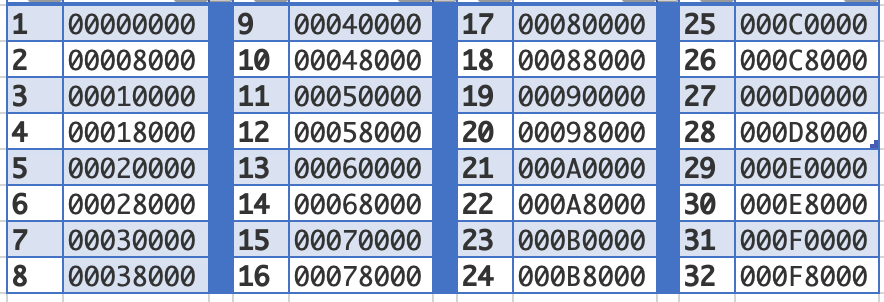
For up to (8192 bytes) 8KB ( on the +8 ) images it is:-
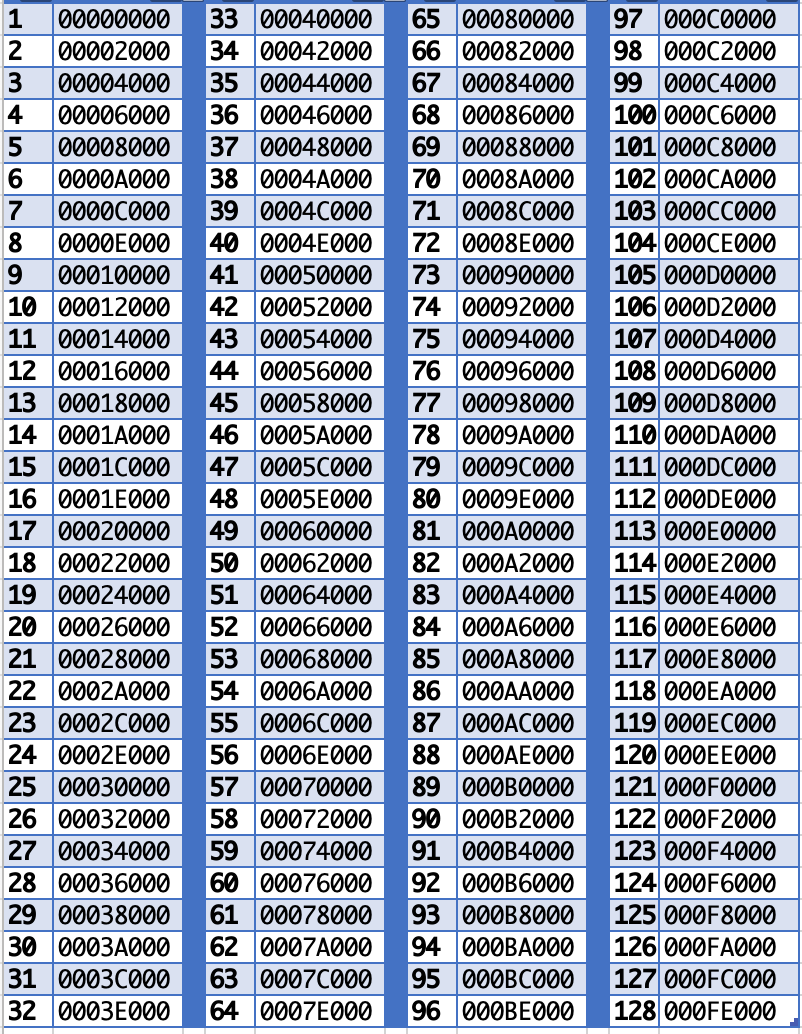
For up to (32768 bytes) 32KB ( on the +32 ) images it is:-
Don’t worry about the letters in there it will match with the numbers in HxD.
Right , got your rom list ready? Installed HxD? Got your unzipped blank Eprom file?
Got all the roms to put on the multicart in one directory?
If the answer is YES then we are ready to start!
My roms and blank file I have put in a folder in my ‘documents’ directory called ‘MyCart’ .
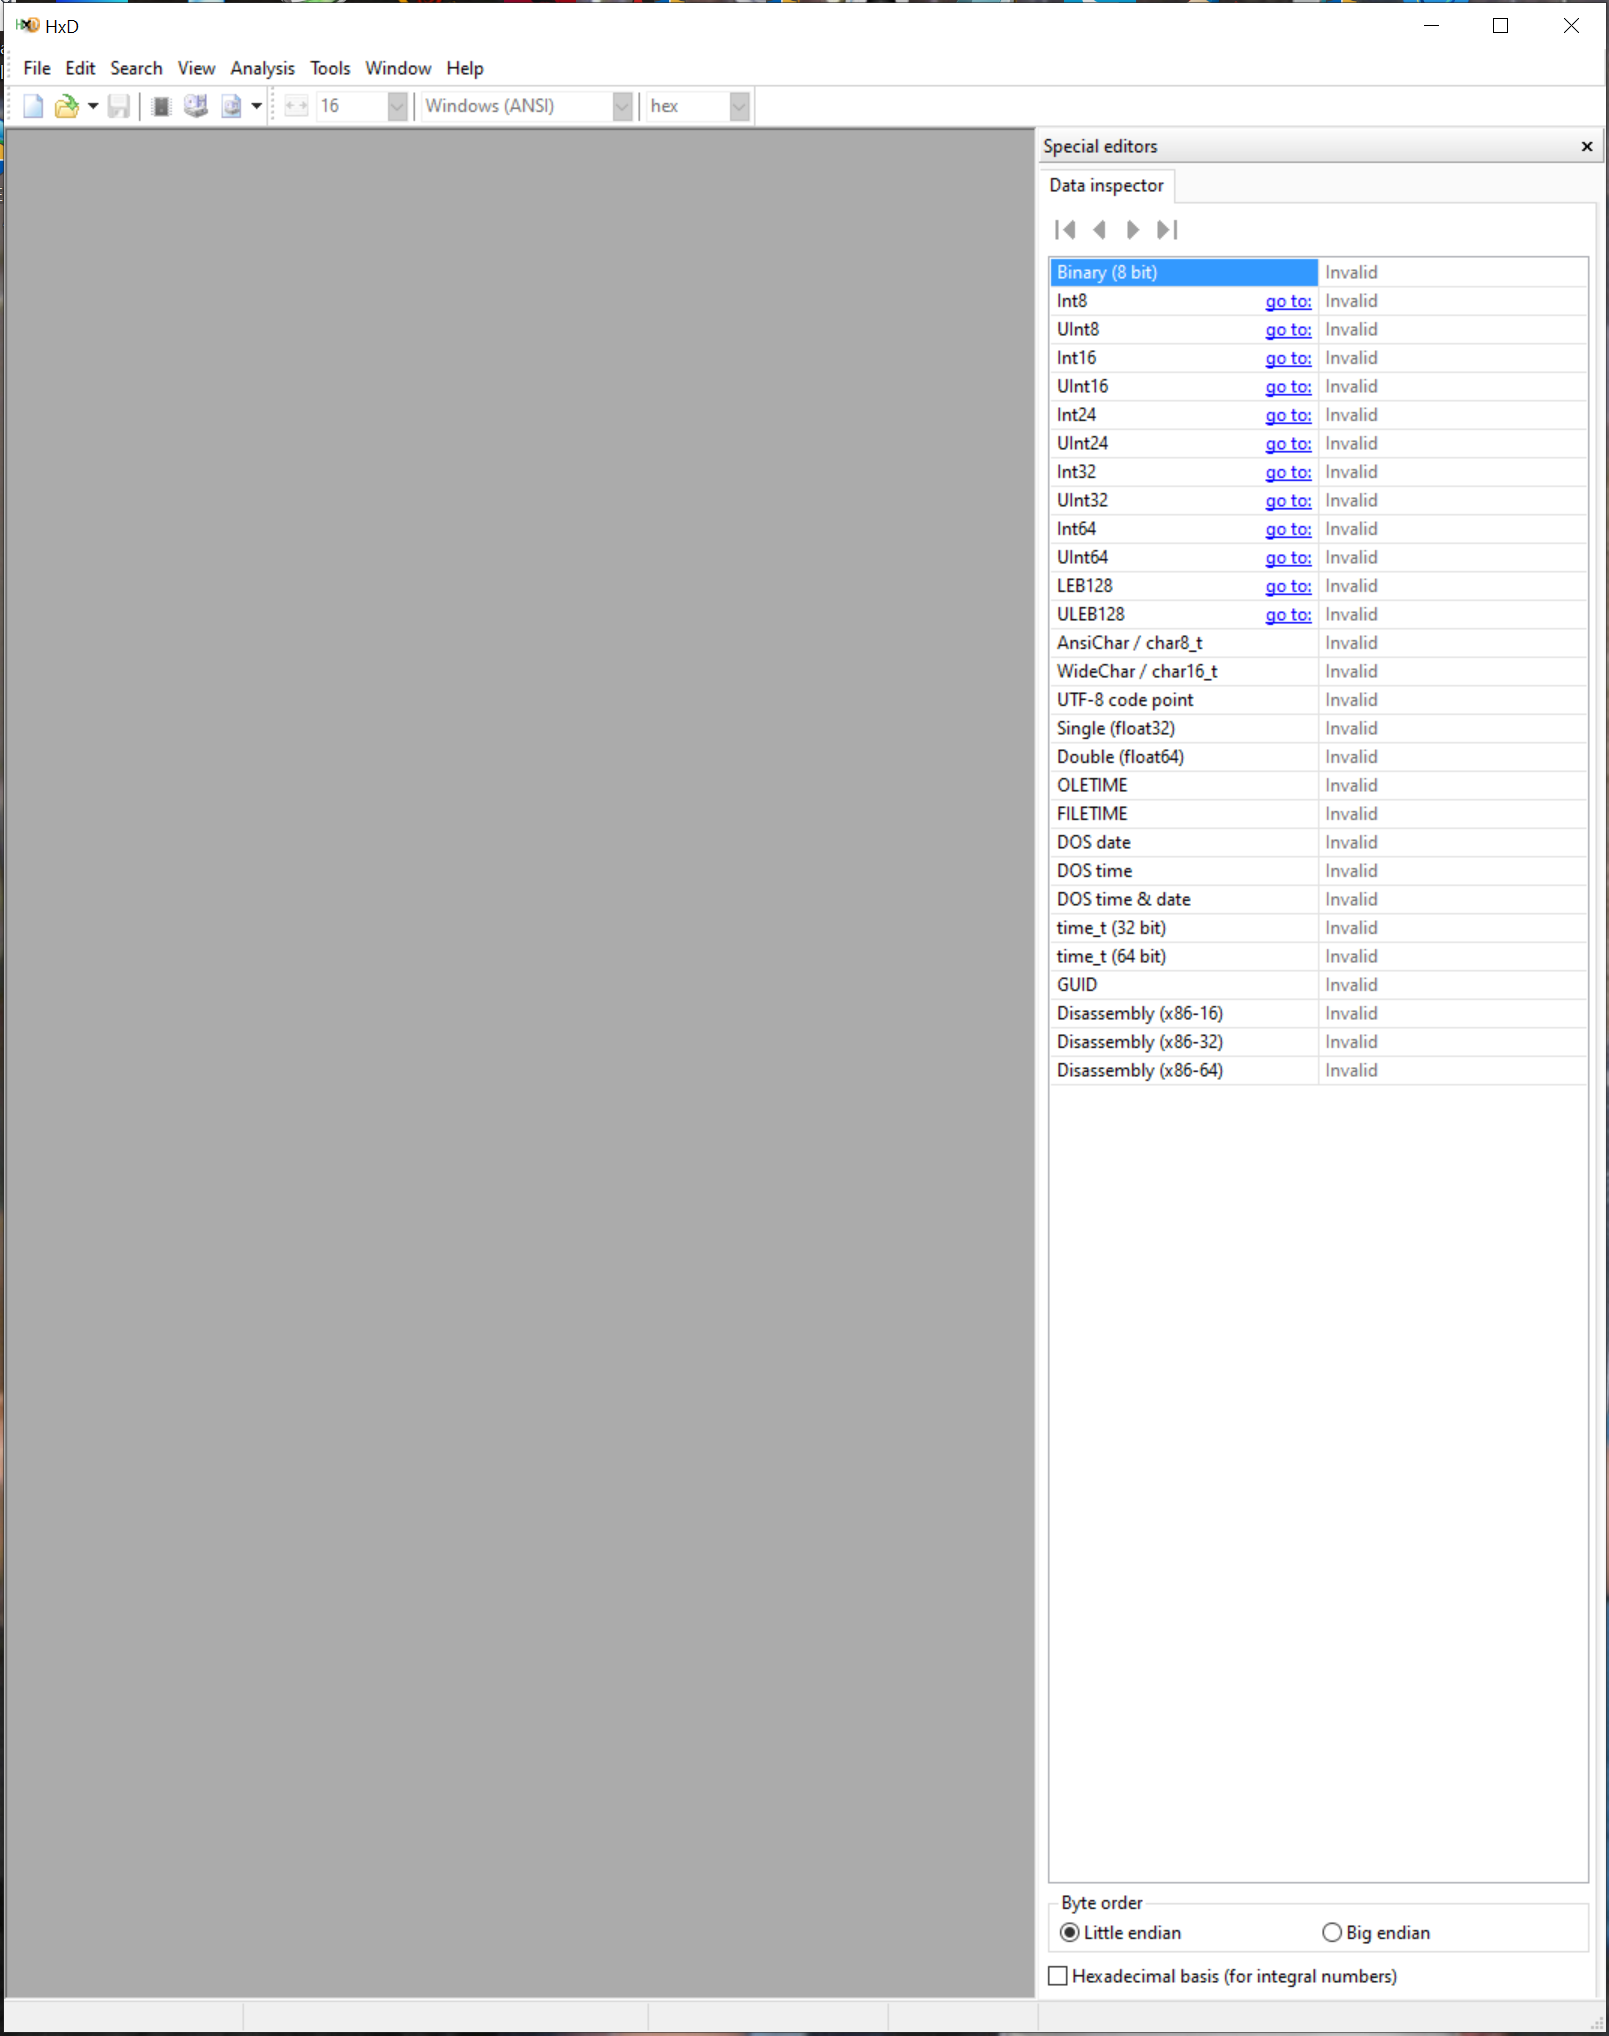
Let us open HxD.
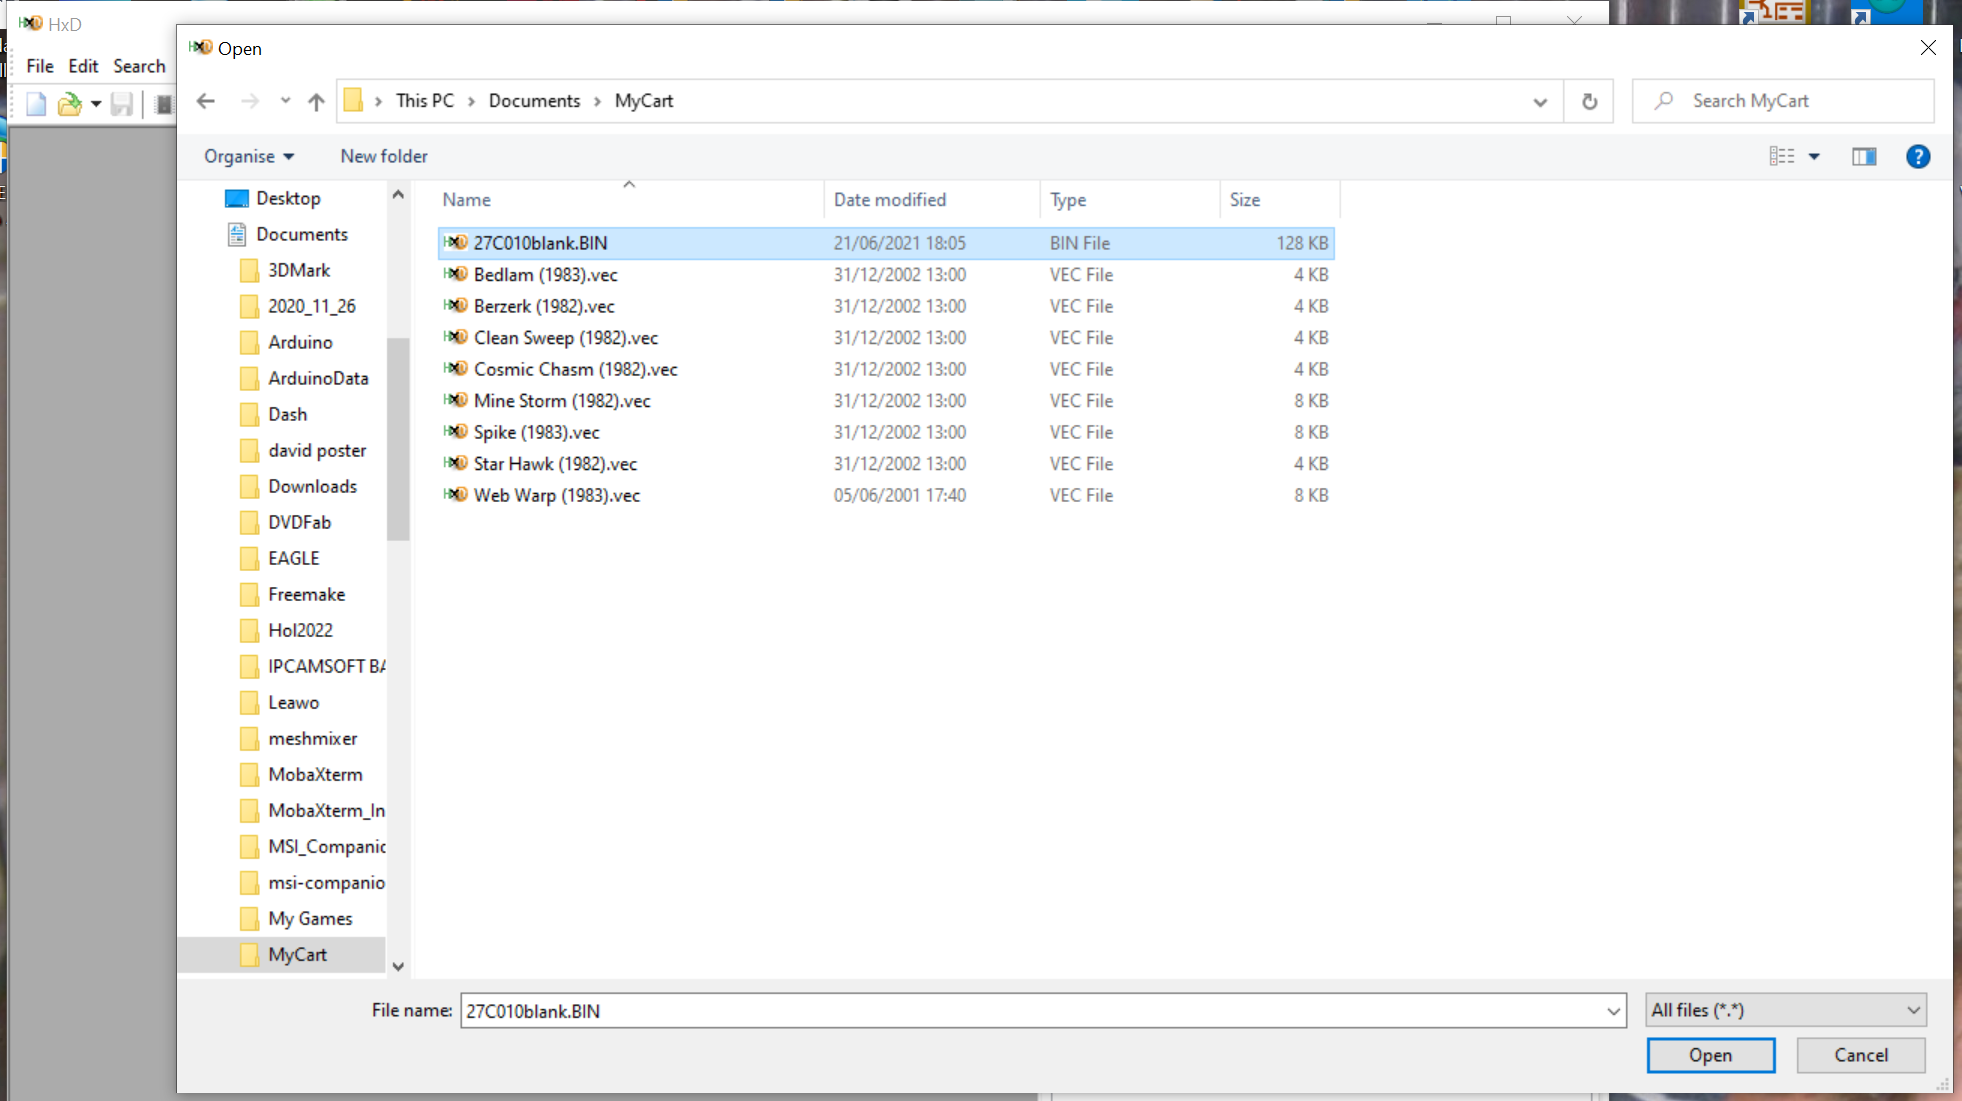
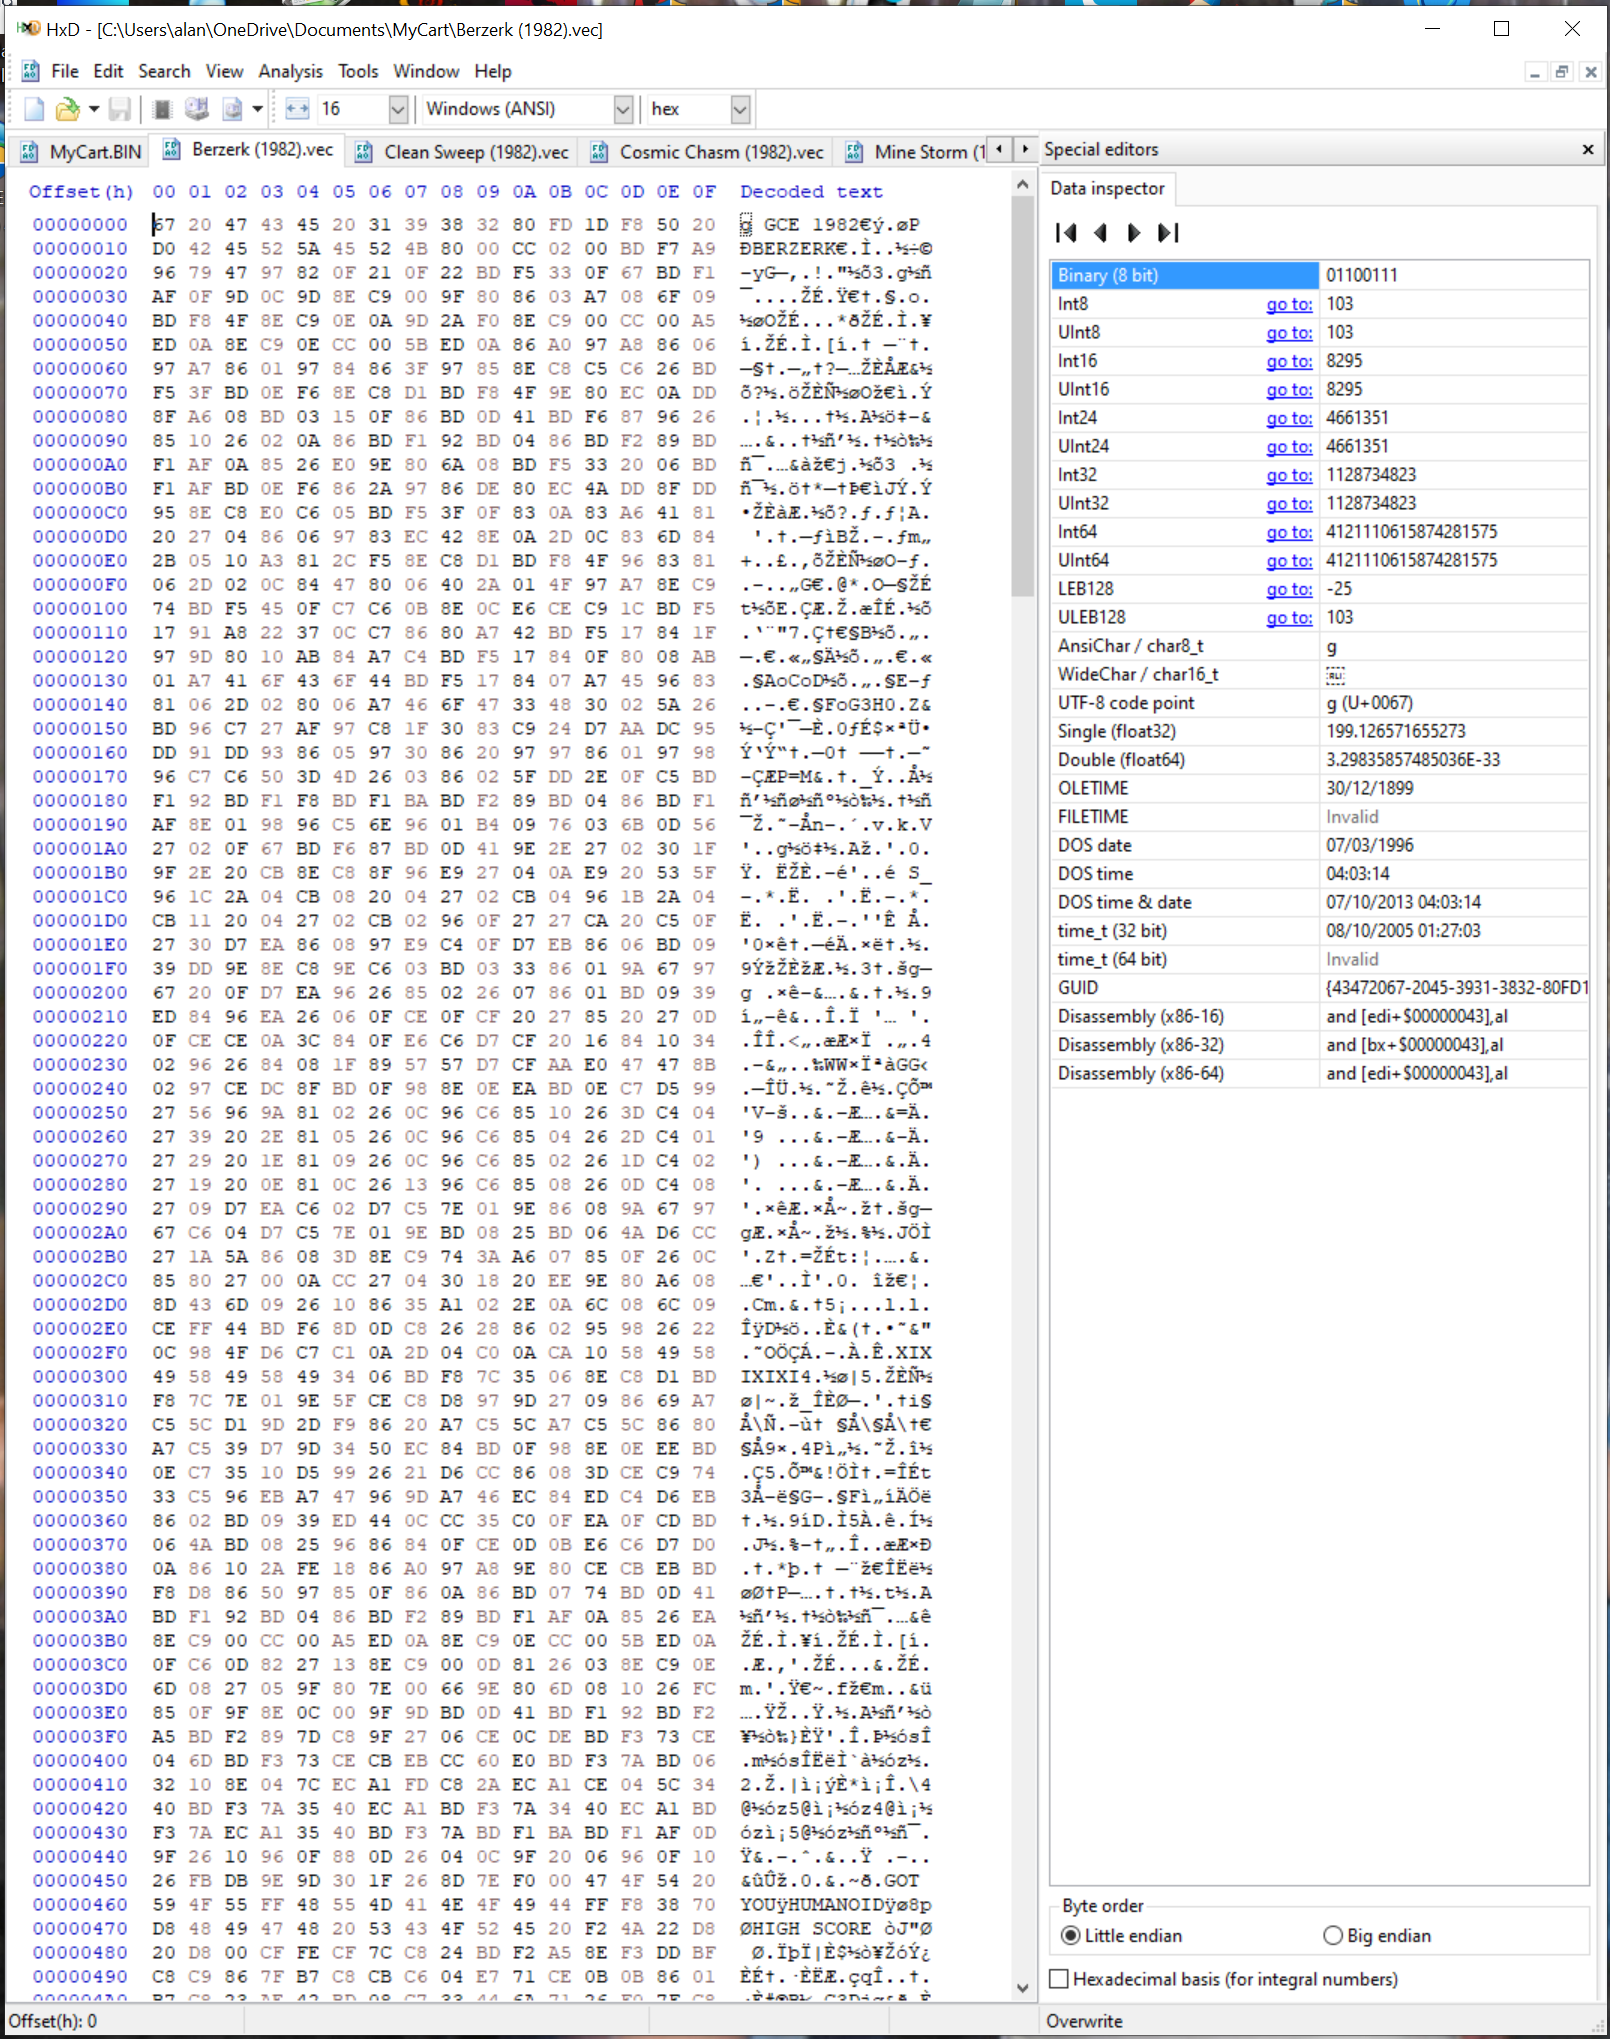
The first file i am going to open is the blank eprom file ( i am using the 27c010 for this demonstration ) and creating one for the +8 version ( 8k roms ) you can do the +32 in exactly the same way but remember to use the addresses from the +32 table for the start address for each rom!
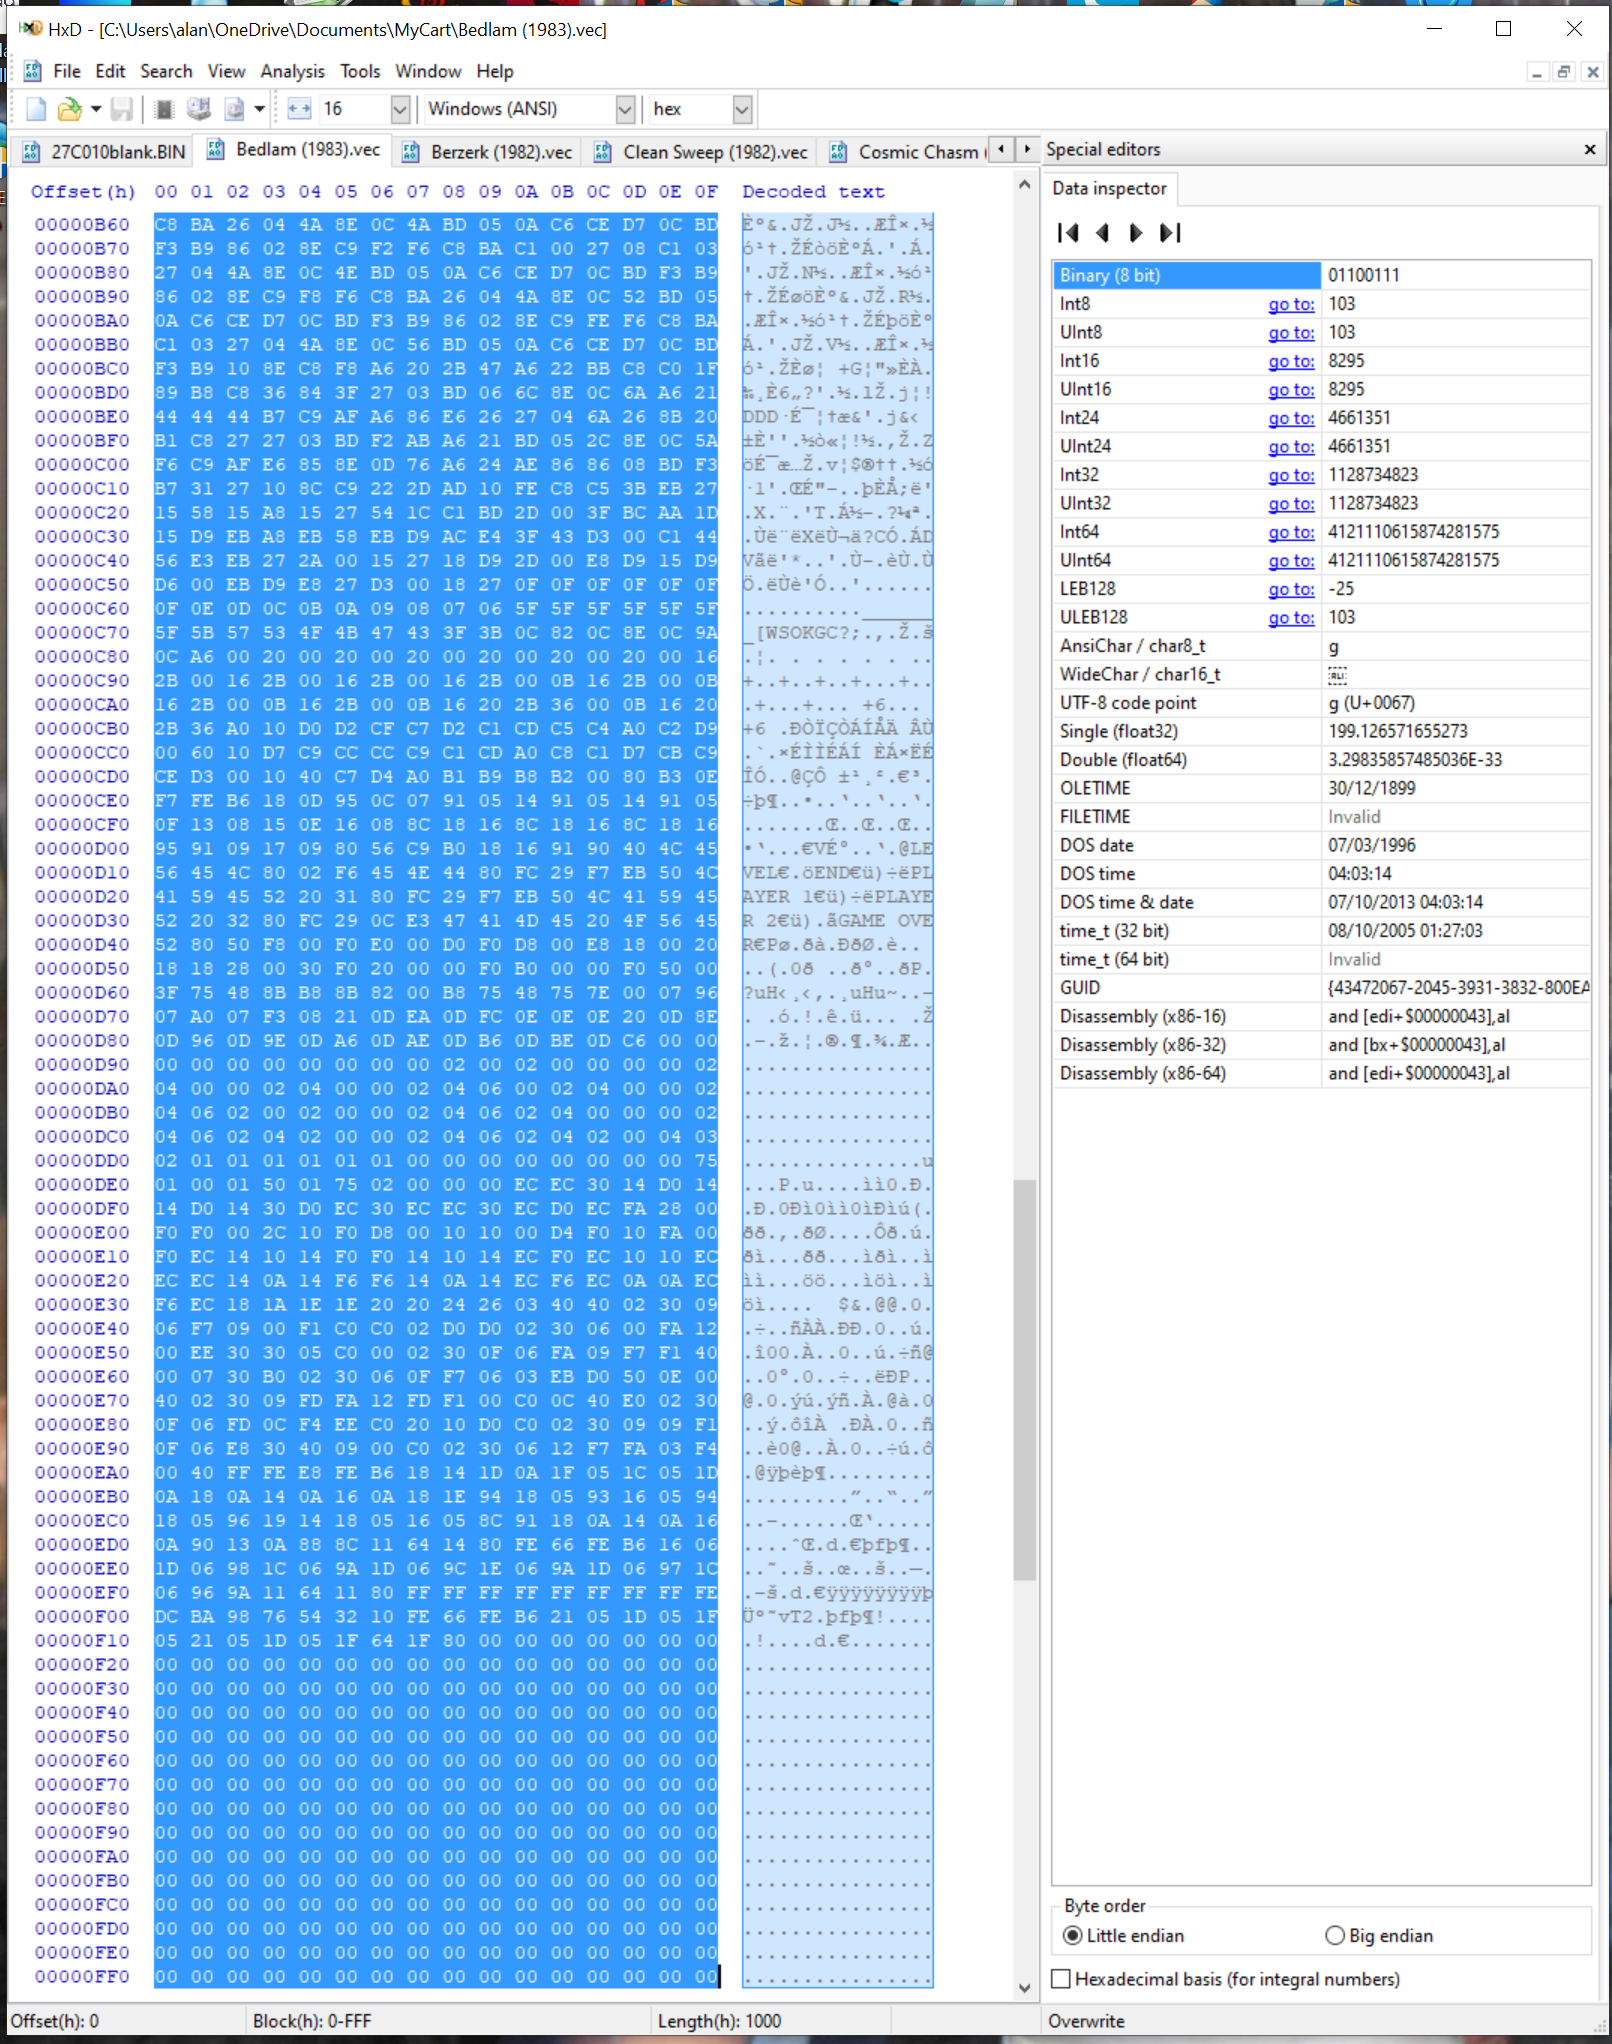
Click file and Open a standard file selection window will open up . Navigate to your directory and click on the blank file for the eprom you have chosen and then click the Open button.
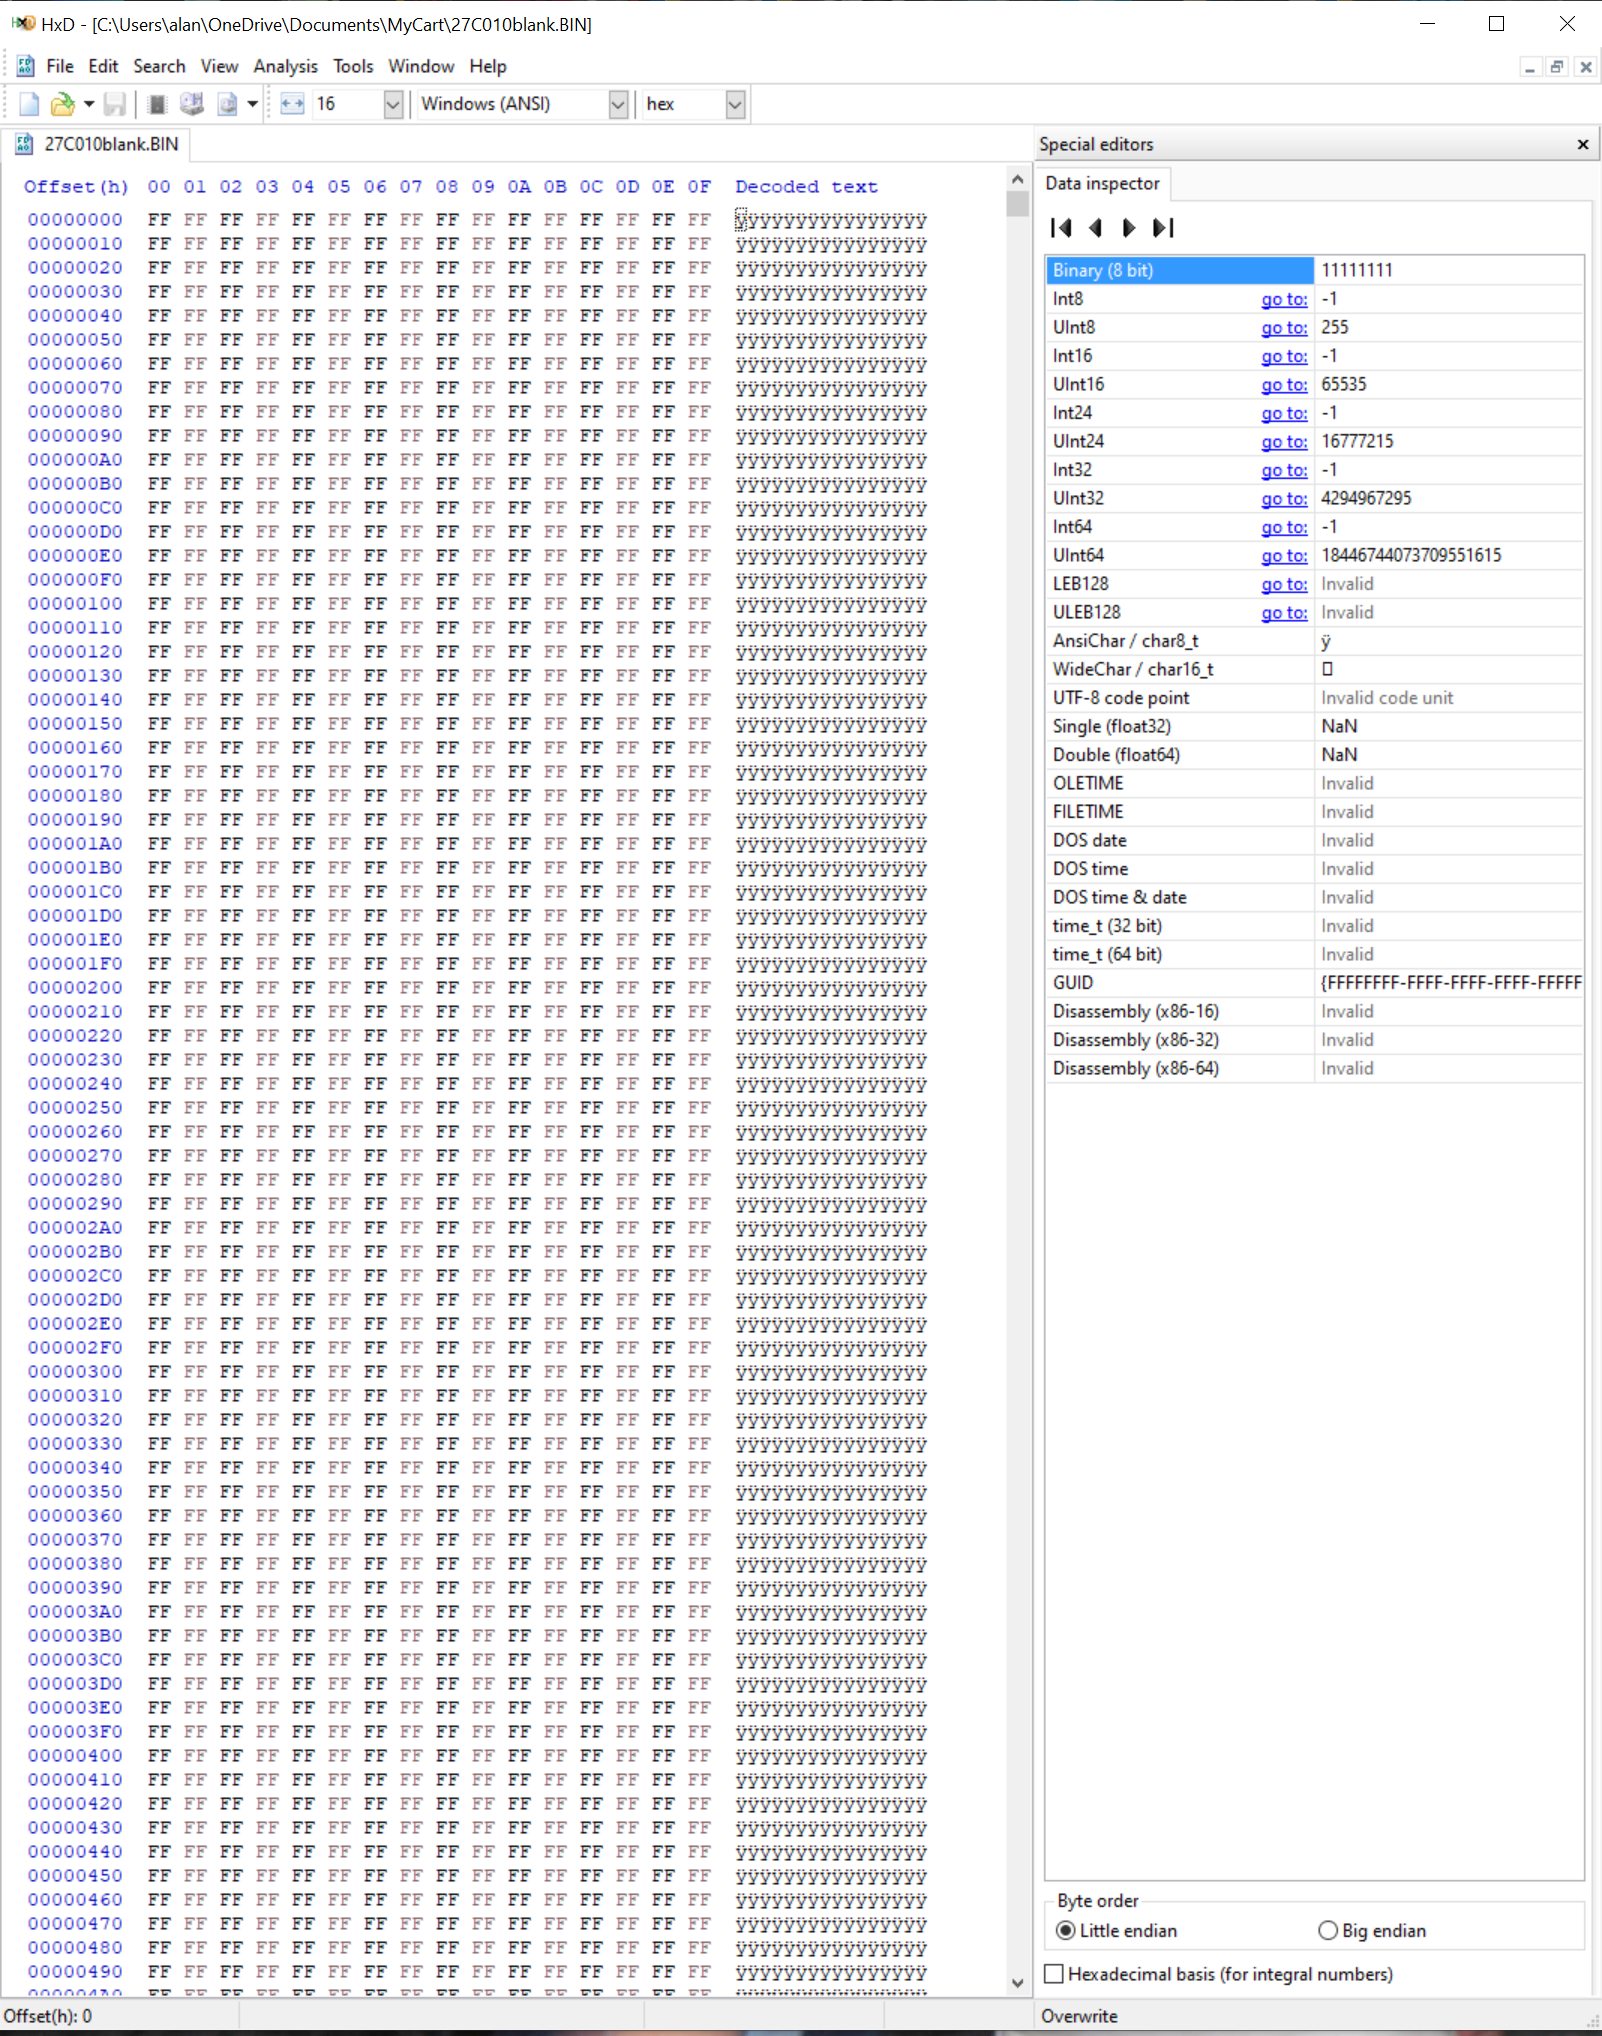
You should now have something like the above .
You could now do the same for each image file but there is a quicker way.
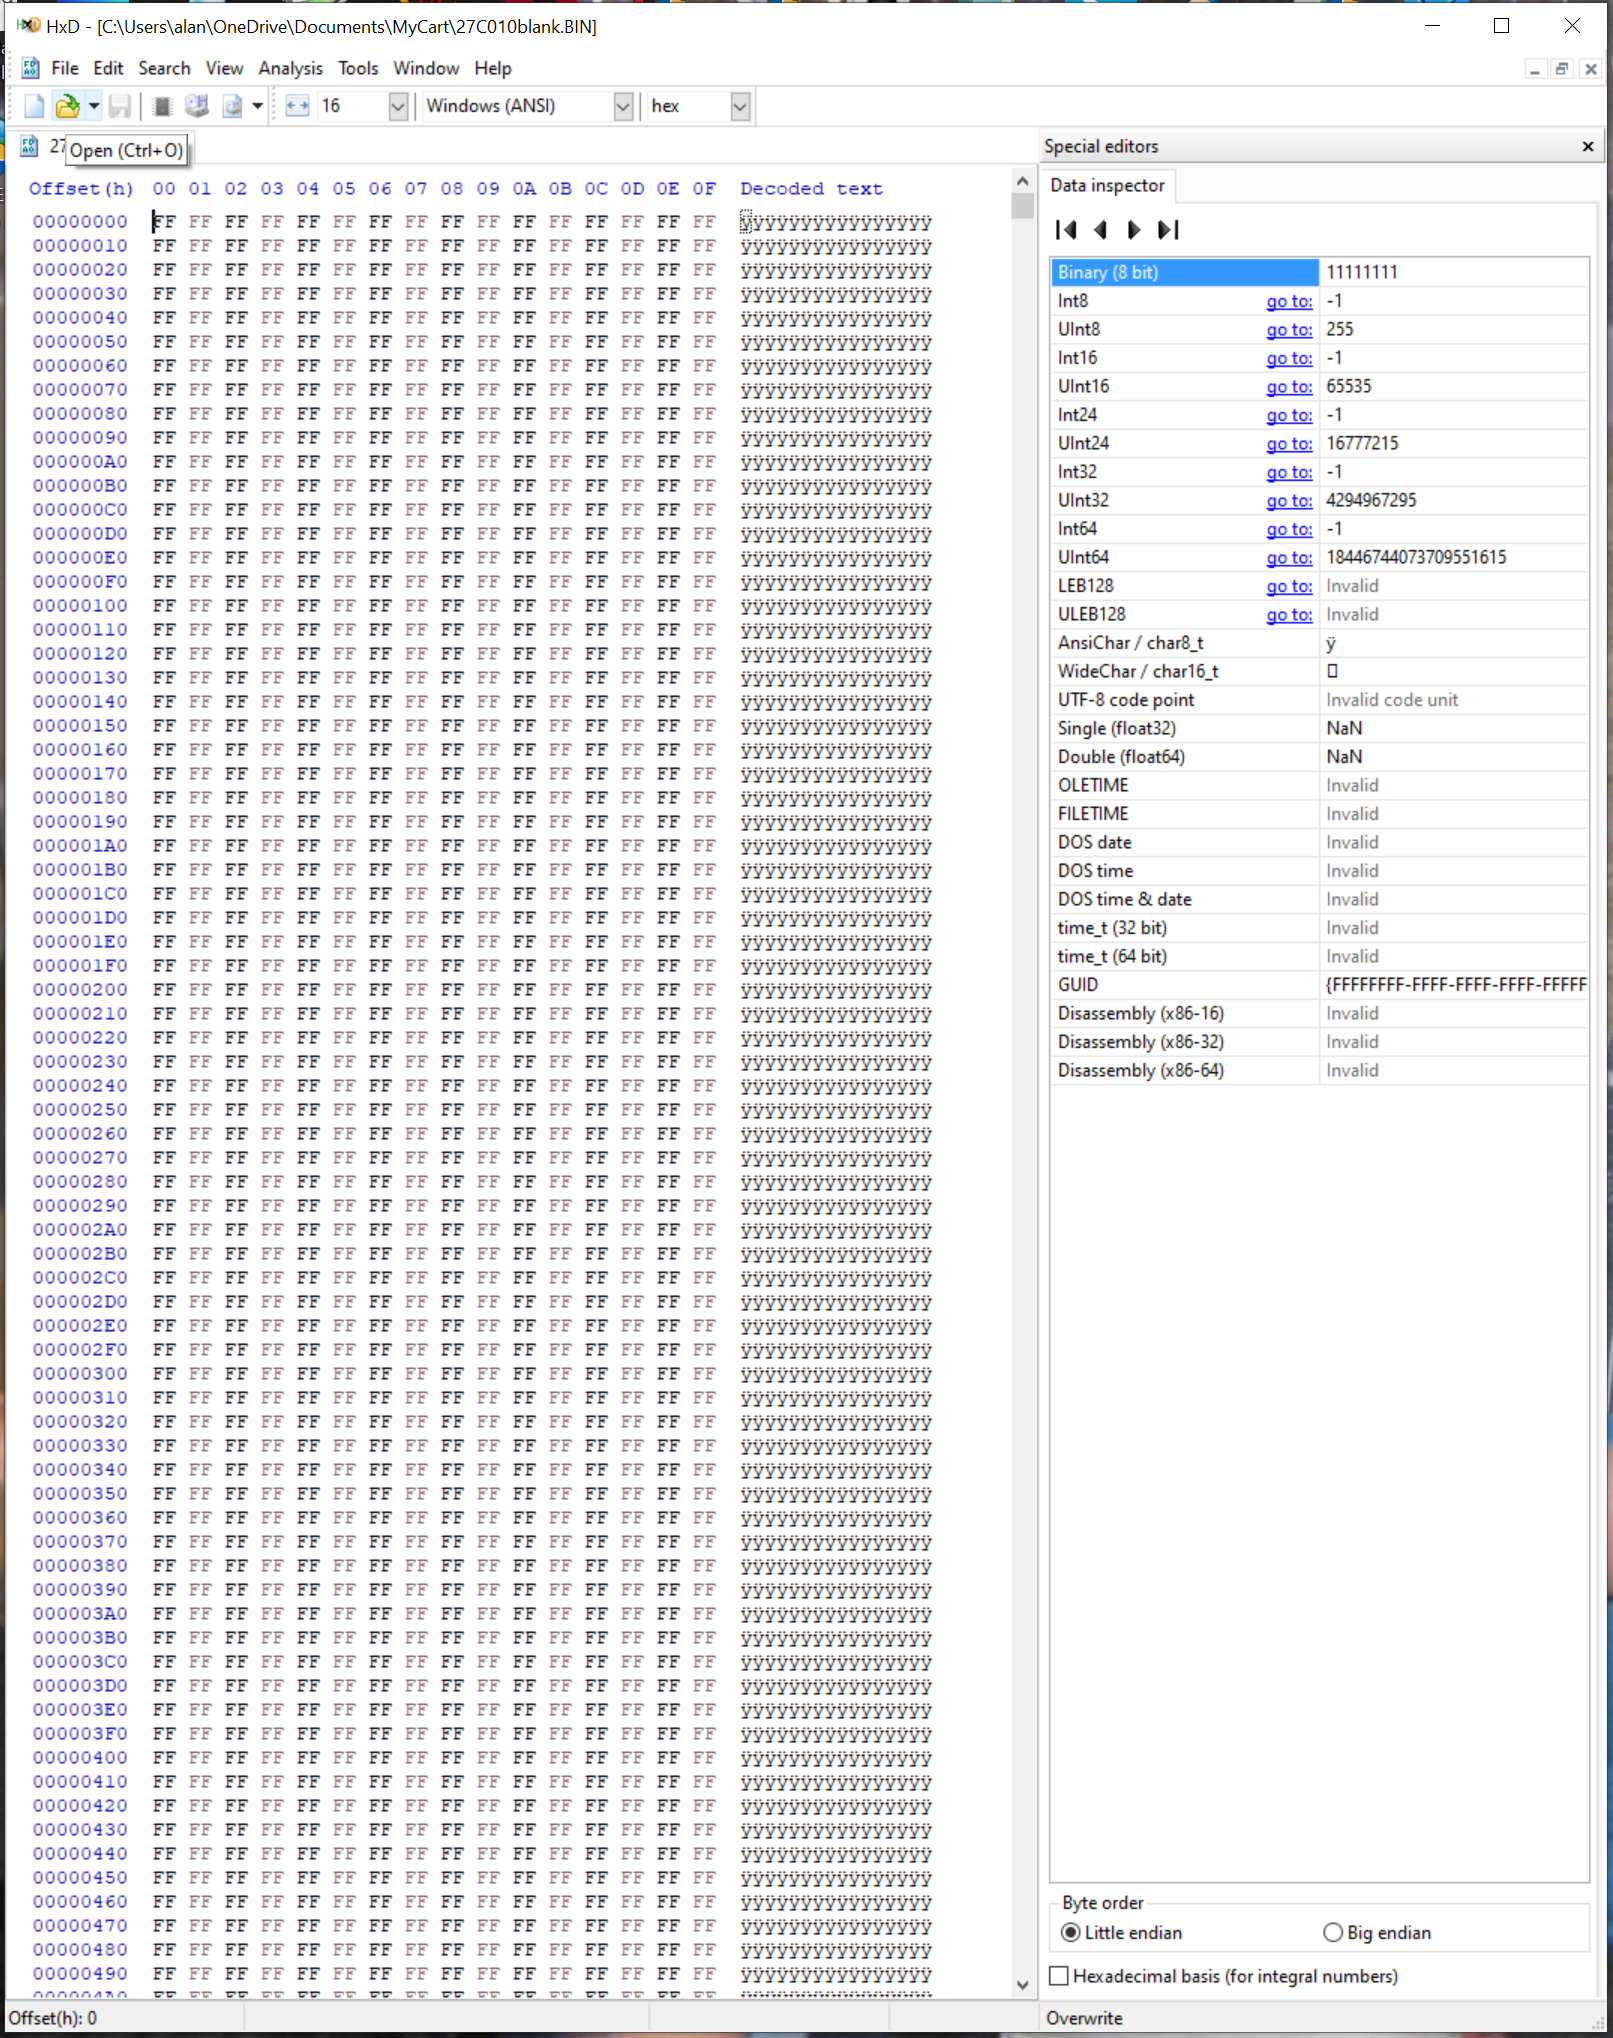
The folder button with a green arrow underneath the file menu is a quick way to open things . Click on it and the file selection window opens up .
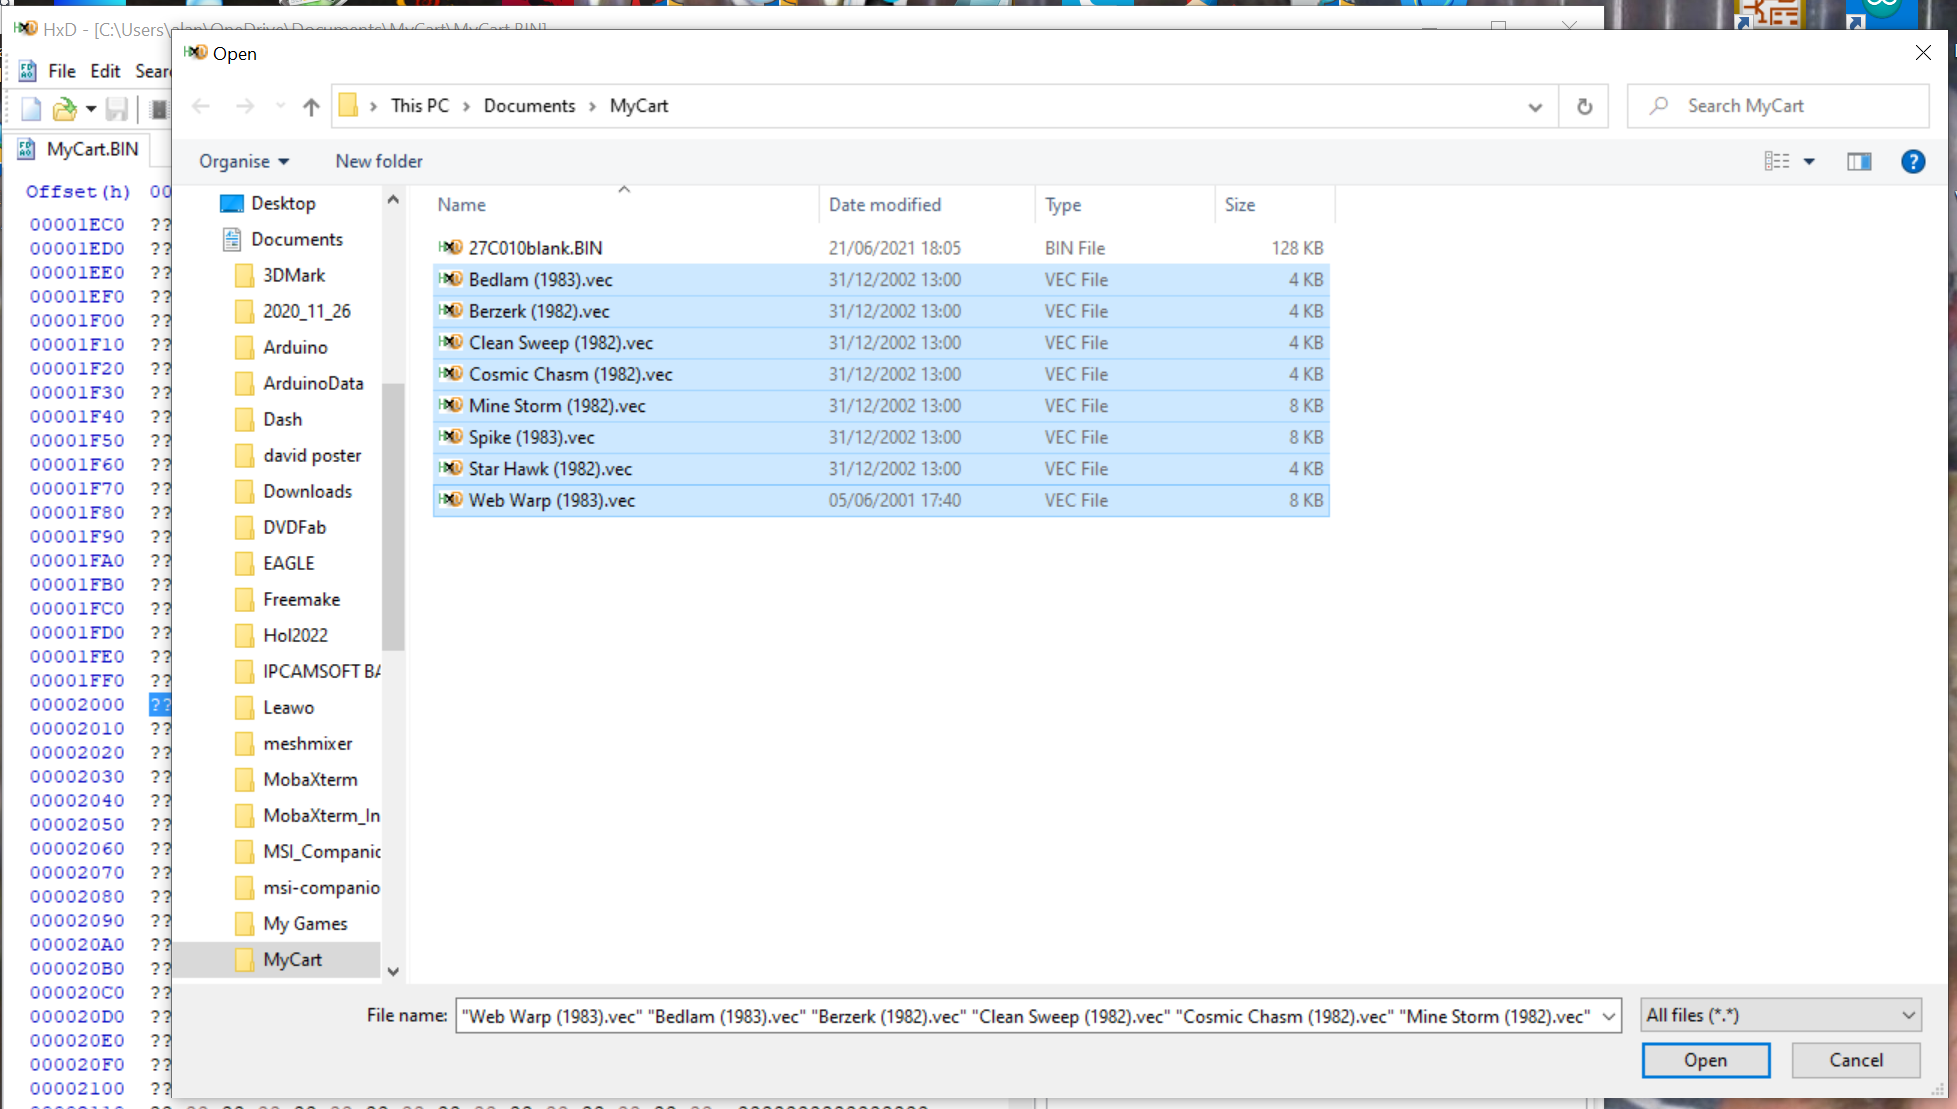
If i click on BEDLAM and then hold the shift key and click on Web Warp it will select all those files to open . Click open and it will open all of them!
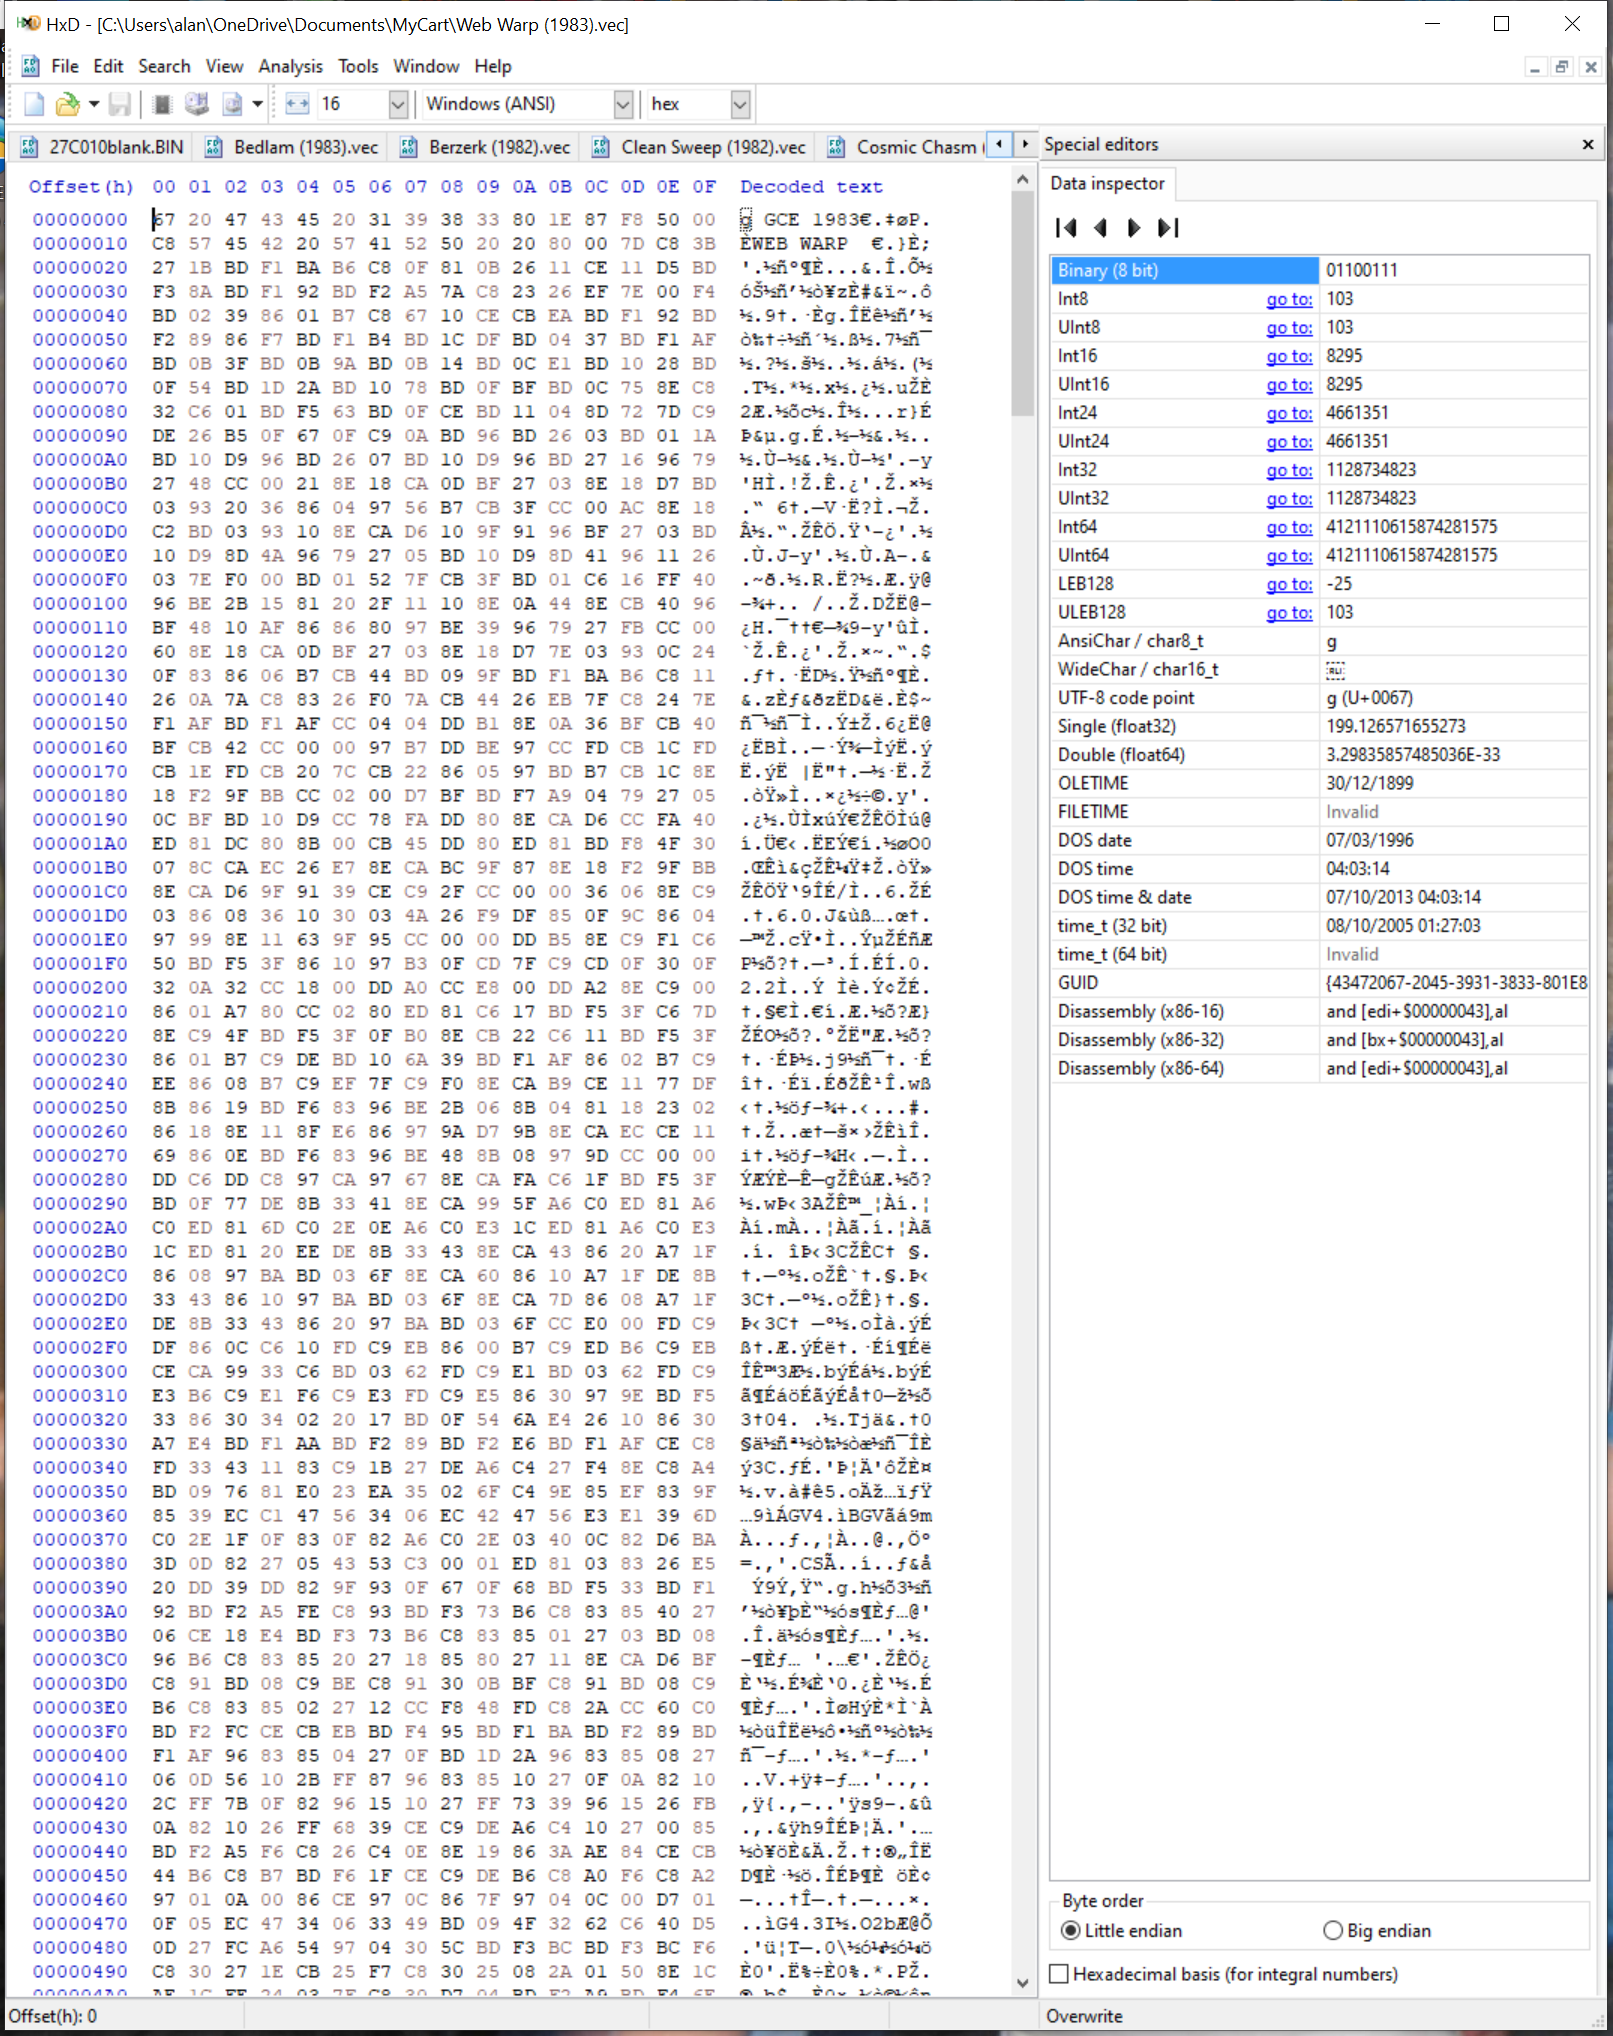
The left and right arrows by the file title will allow you to scroll through the list of files.
I am going to do mine in alphabetical order , but you can do yours any way you like.
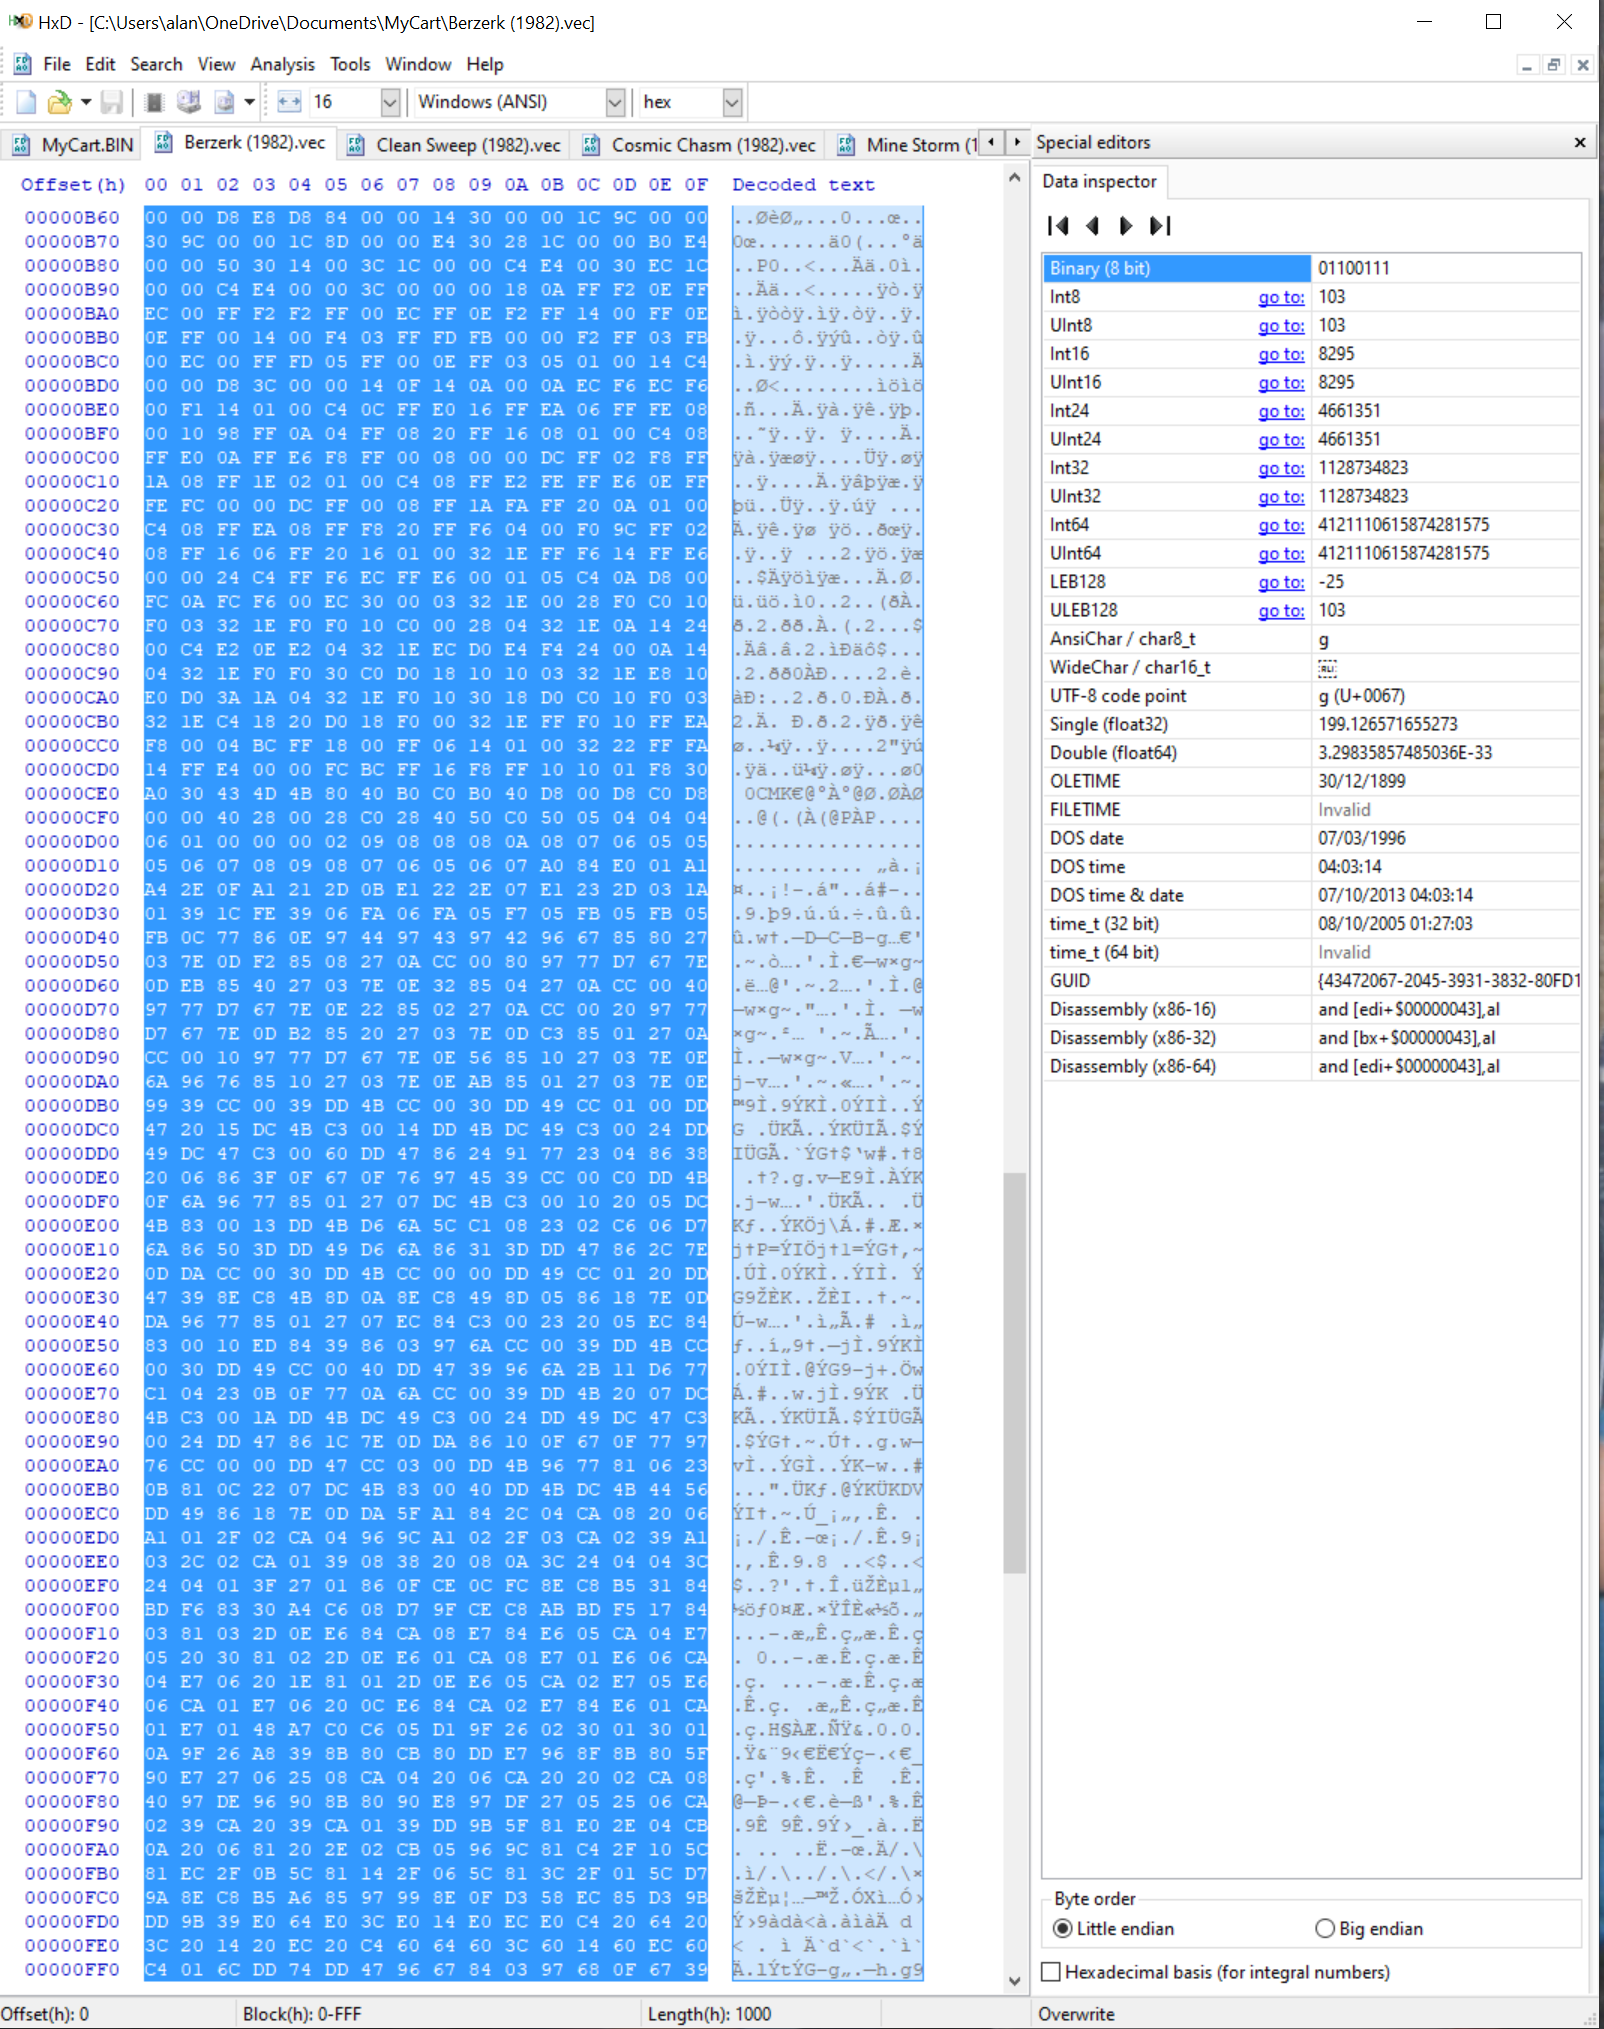
So i scroll to the first of the roms i want to put on ( BEDLAM ) and click on it.

Now this is where the shortcuts make it easy!!
Hold the ctrl key and press A then C and let it go. Ctrl-a selects all the data from this rom and ctrl-c copies it.
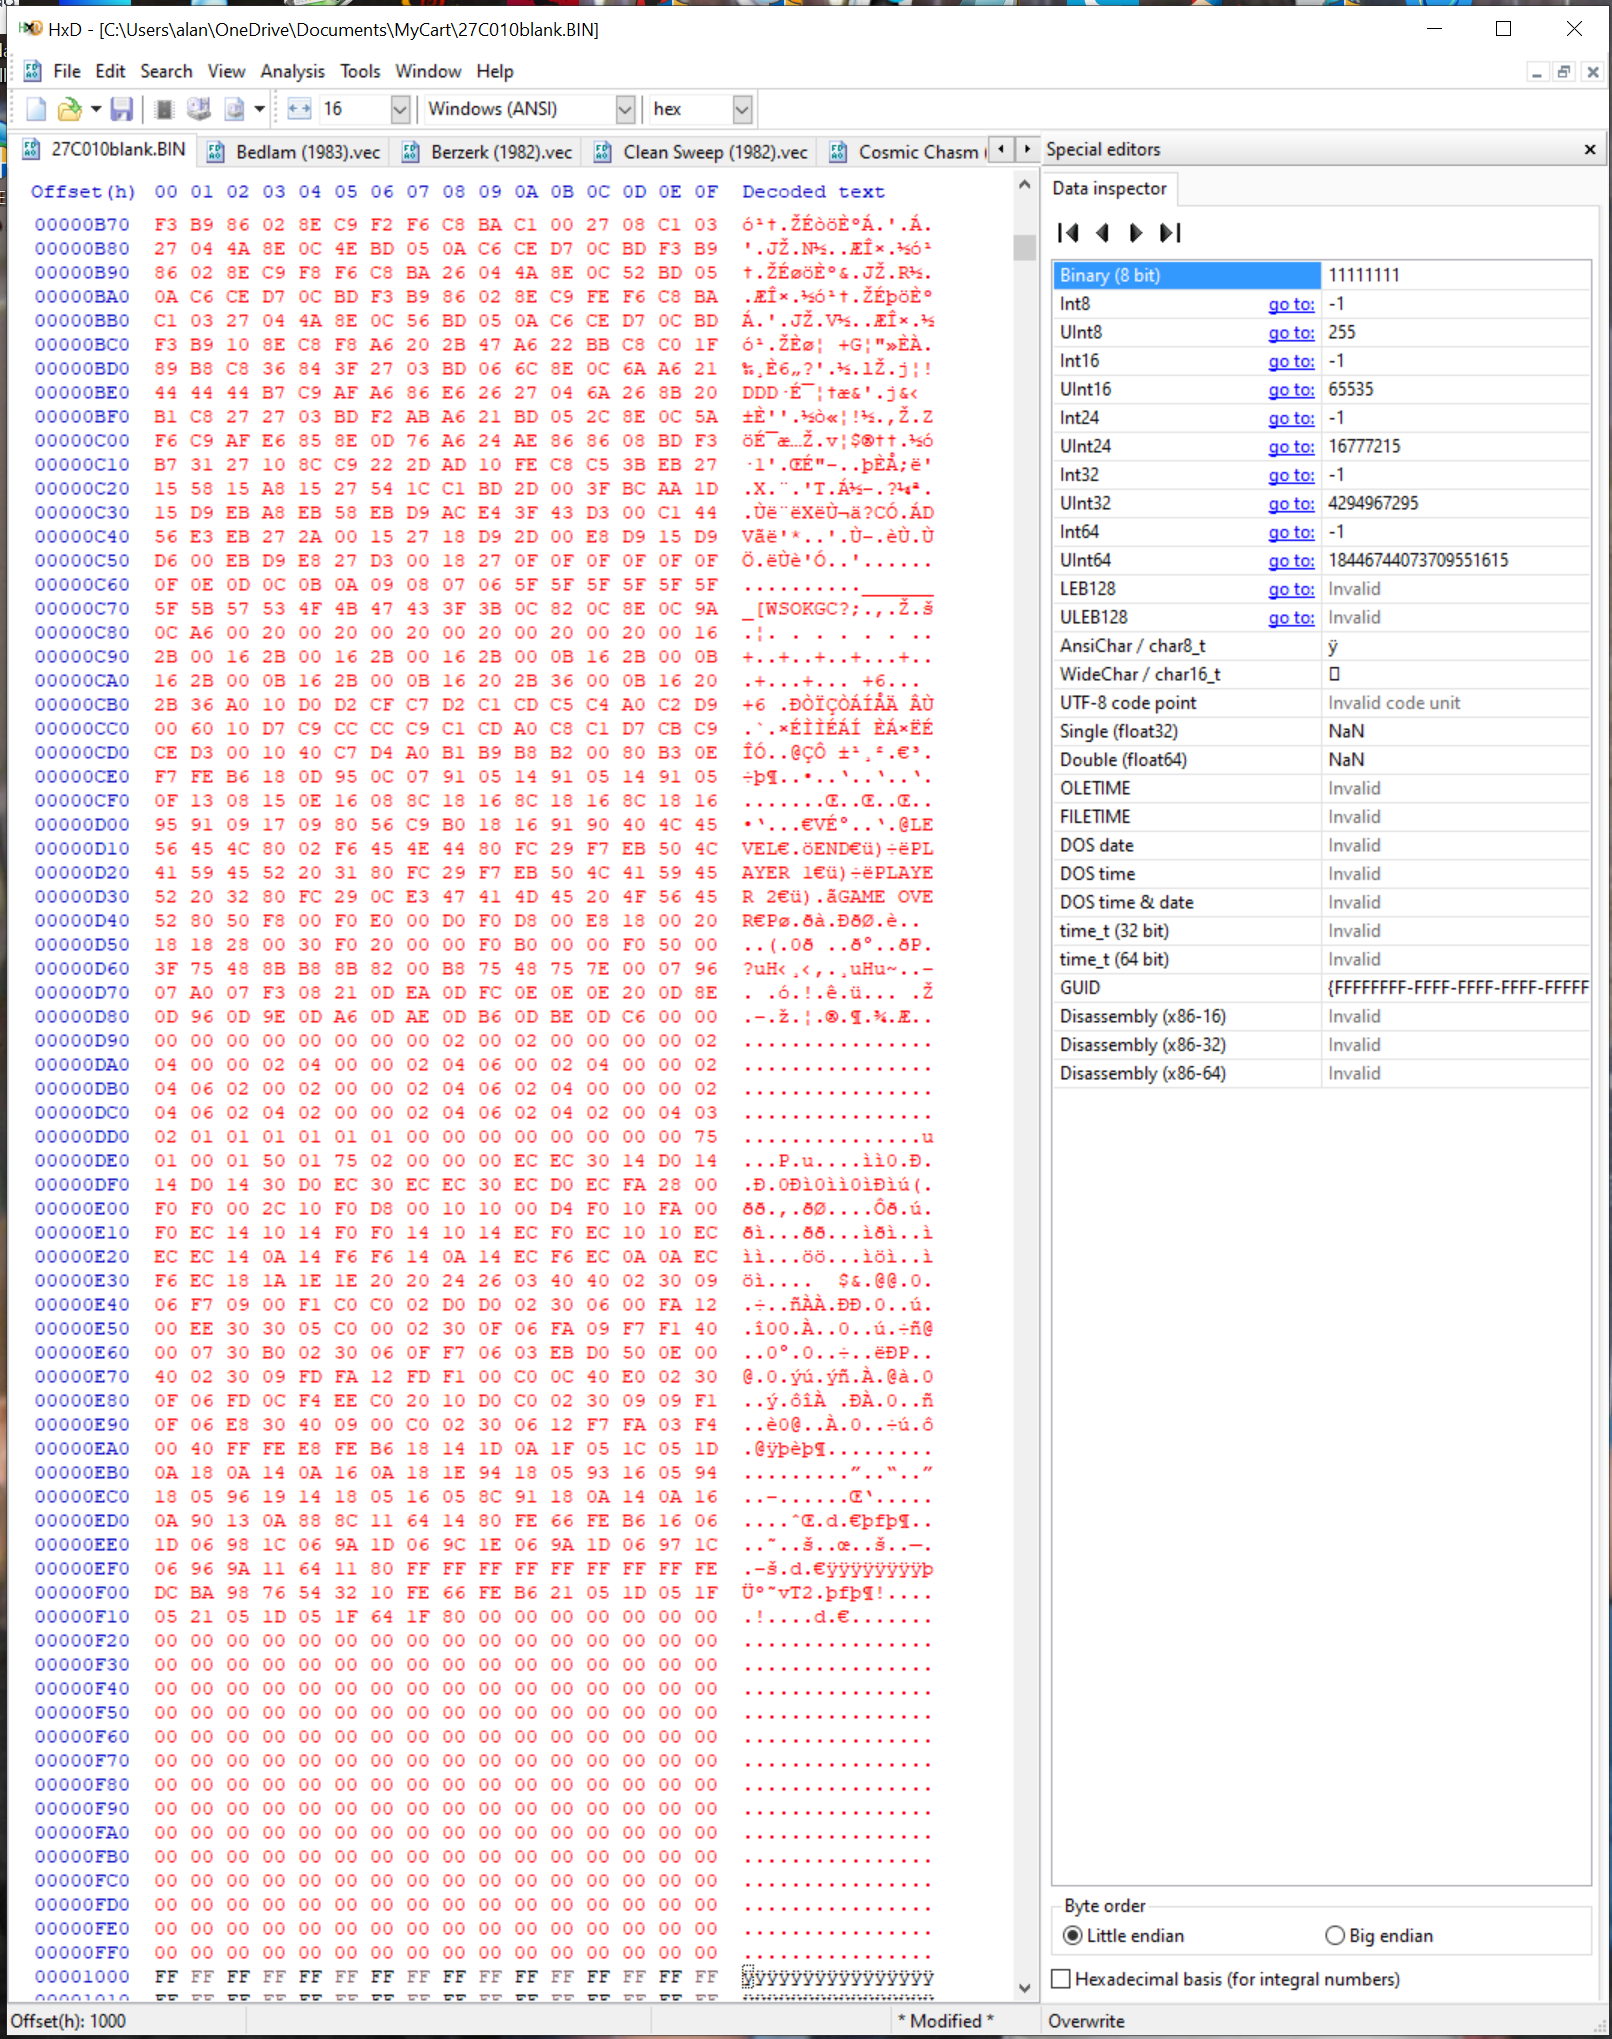
Now goto the blank rom file and put the cursor at the very begining ( if it is not already there ) beside 00000000 (first rom start address ).
Hold ctrl and press B ( not V like copy and paste because that will INSERT it and make your rom file bigger! ) . Ctrl-B writes it into the existing data. Your data will now turn red indicating that it has not been saved yet.
At this point ( and after each cartridge I ‘write in’ ) I am going to save it , but i want to rename it this time so that i don’t overwrite the empty rom file.
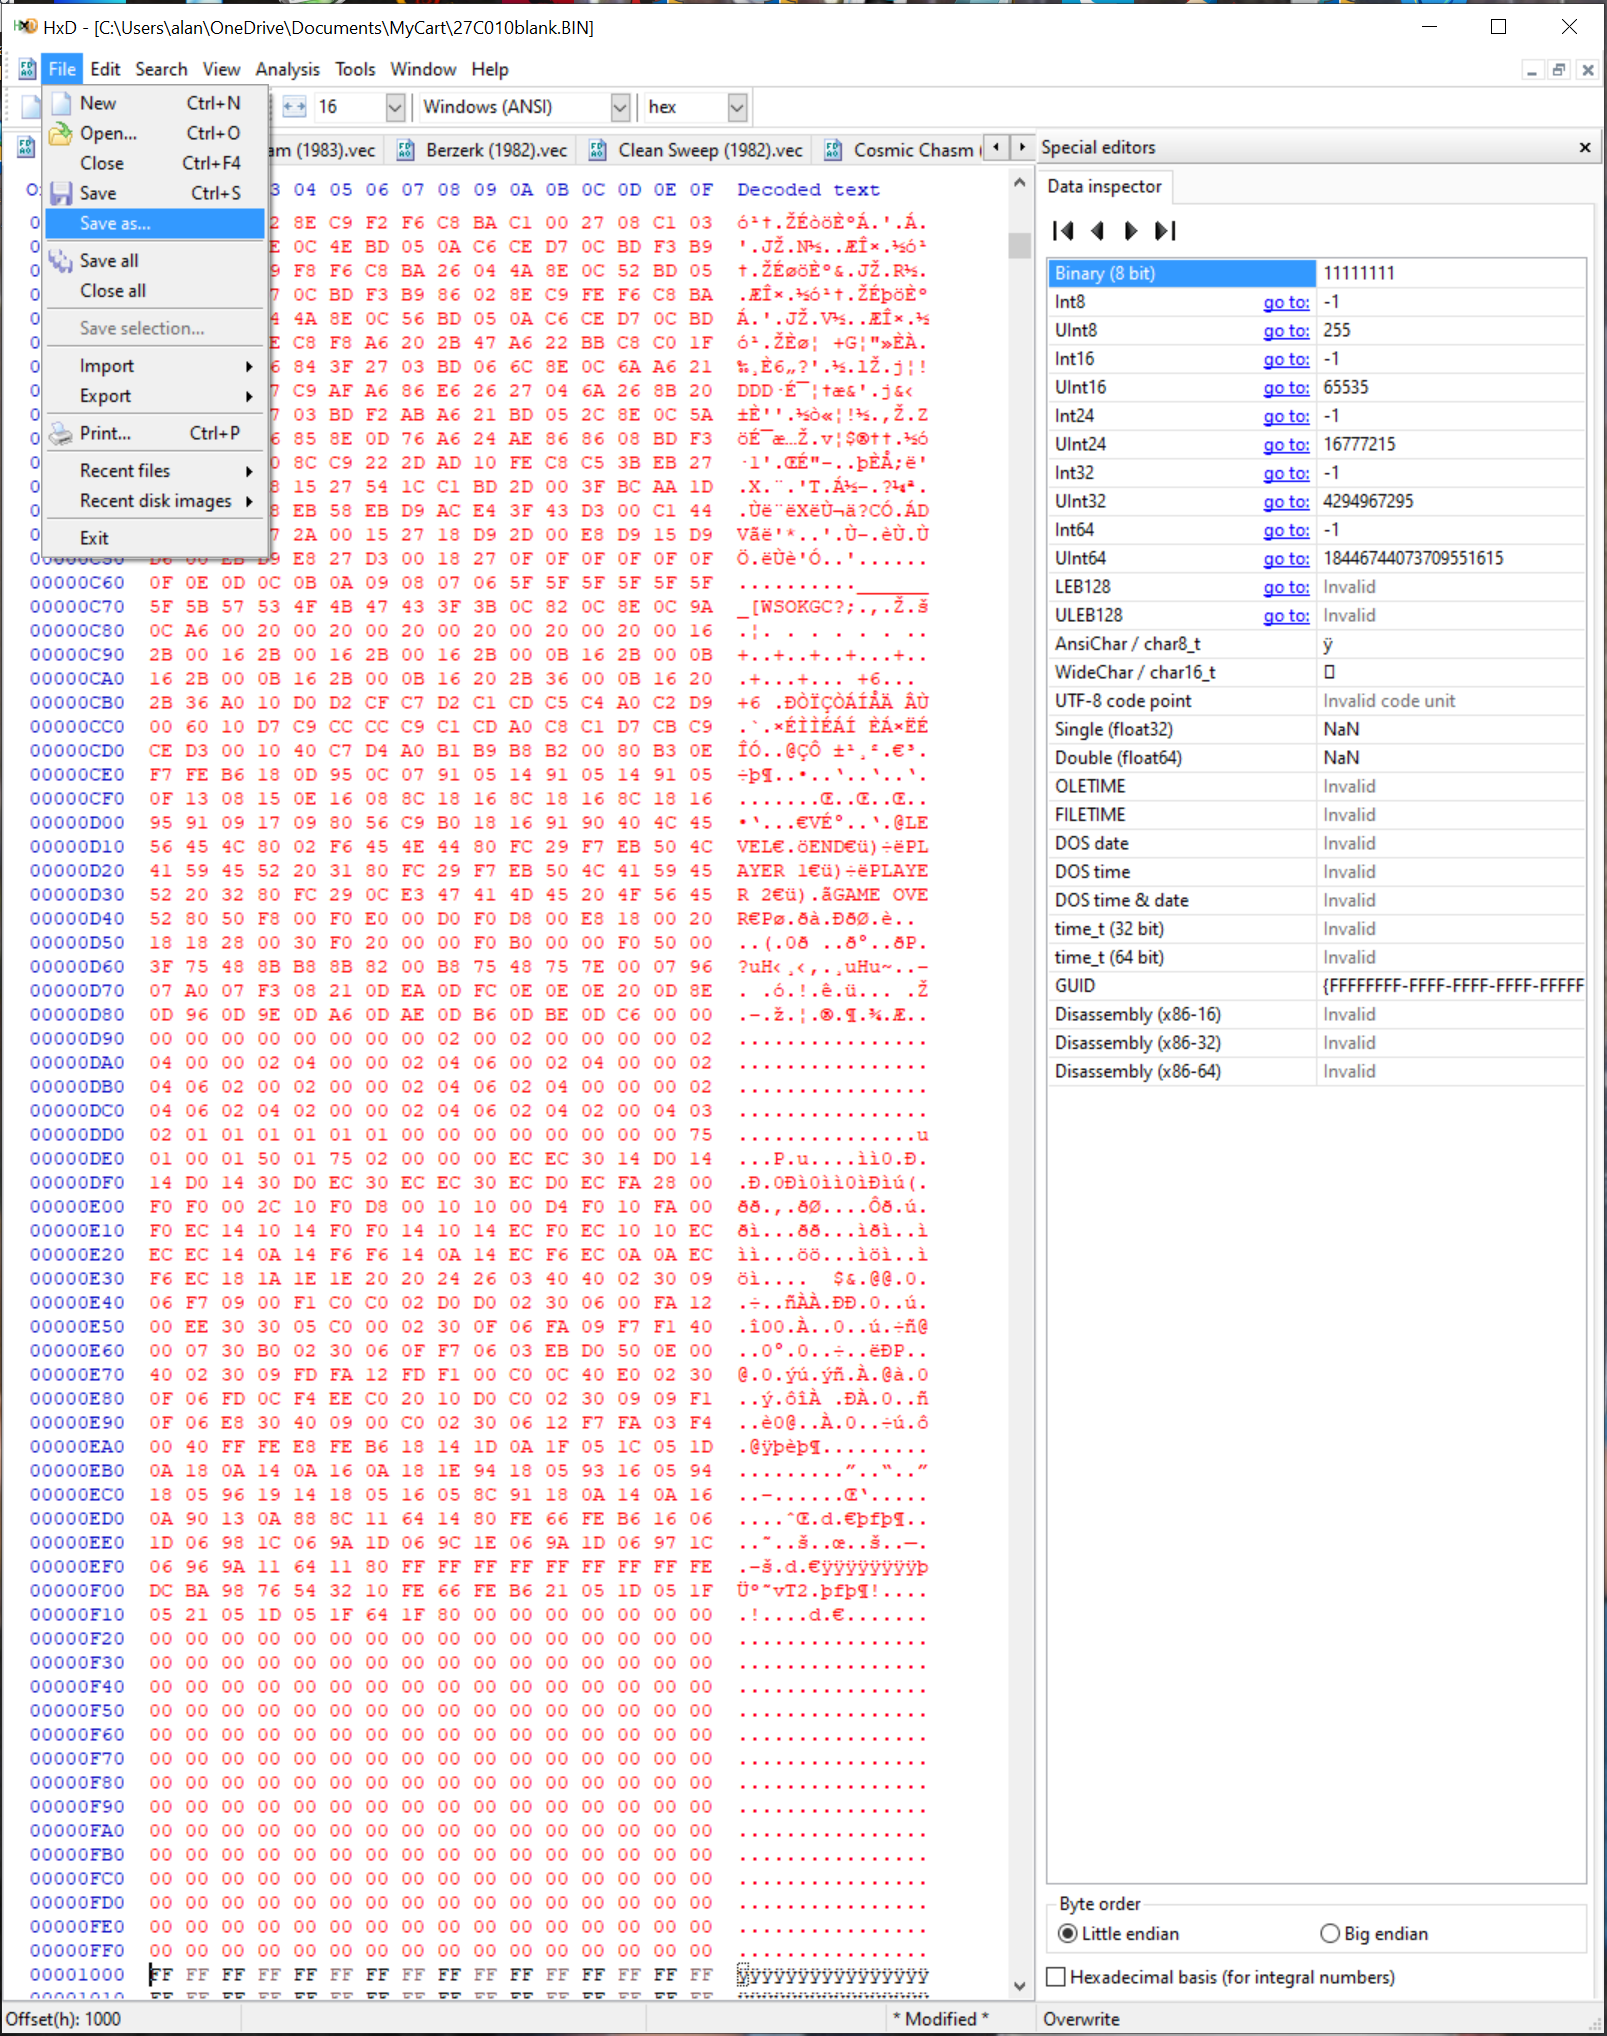
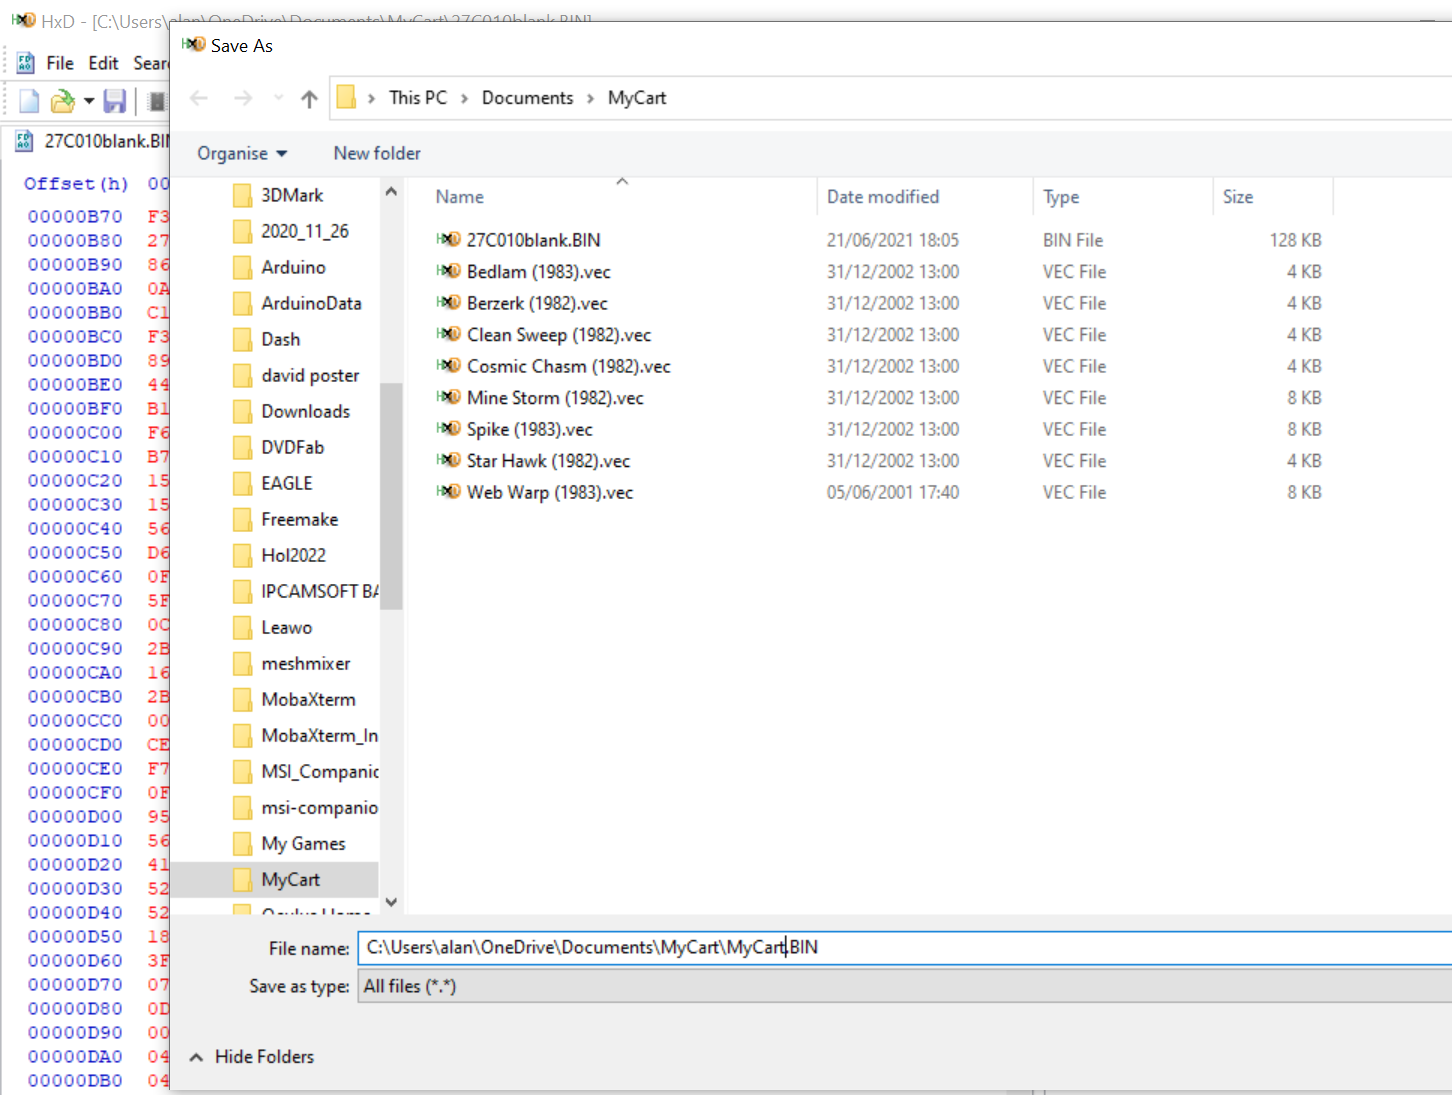
Select ‘Save as’ from the file menu and name it for your rom . I have named mine MyCart.BIN.
Once you have saved the data will turn black again. Now i will close the BEDLAM.VEC tab so that i know it is on the cartridge . This will bring me to my next rom .
The same again ctrl-A and ctrl-C to select and copy.
Goto your rom file and find 00002000 ( rom 2 start address from the +8 table ).
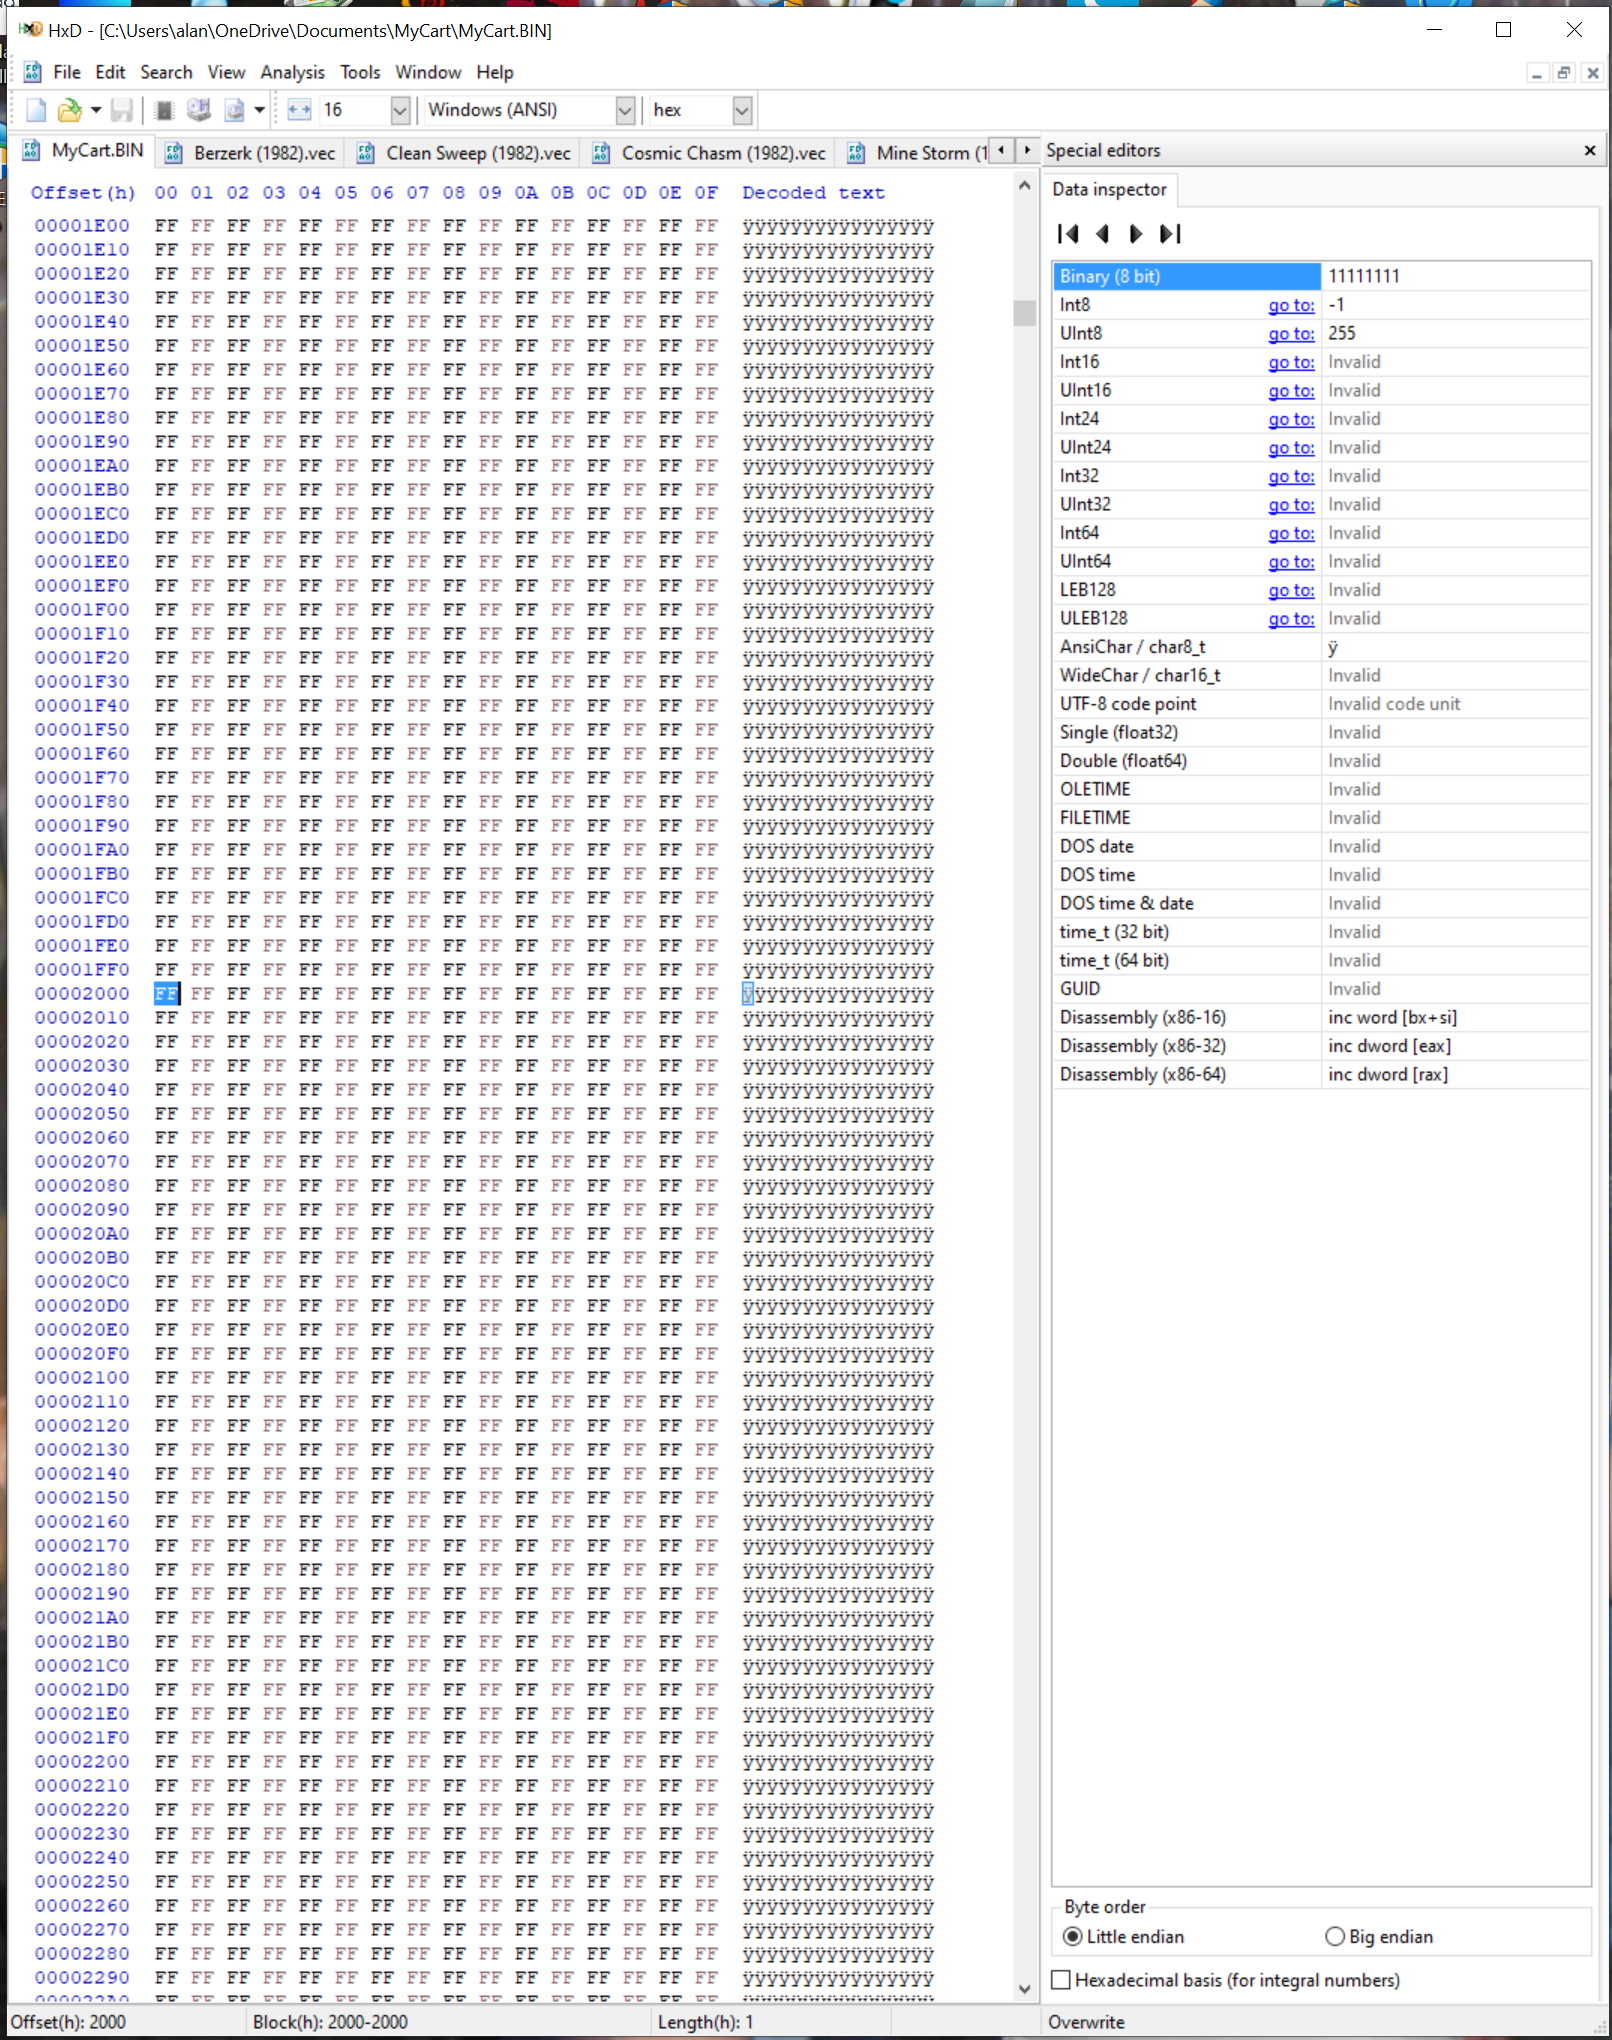
I like to select the first Byte ( FF ) just to check it is the one beside 00002000 and then ctrl-B to write it into the file.
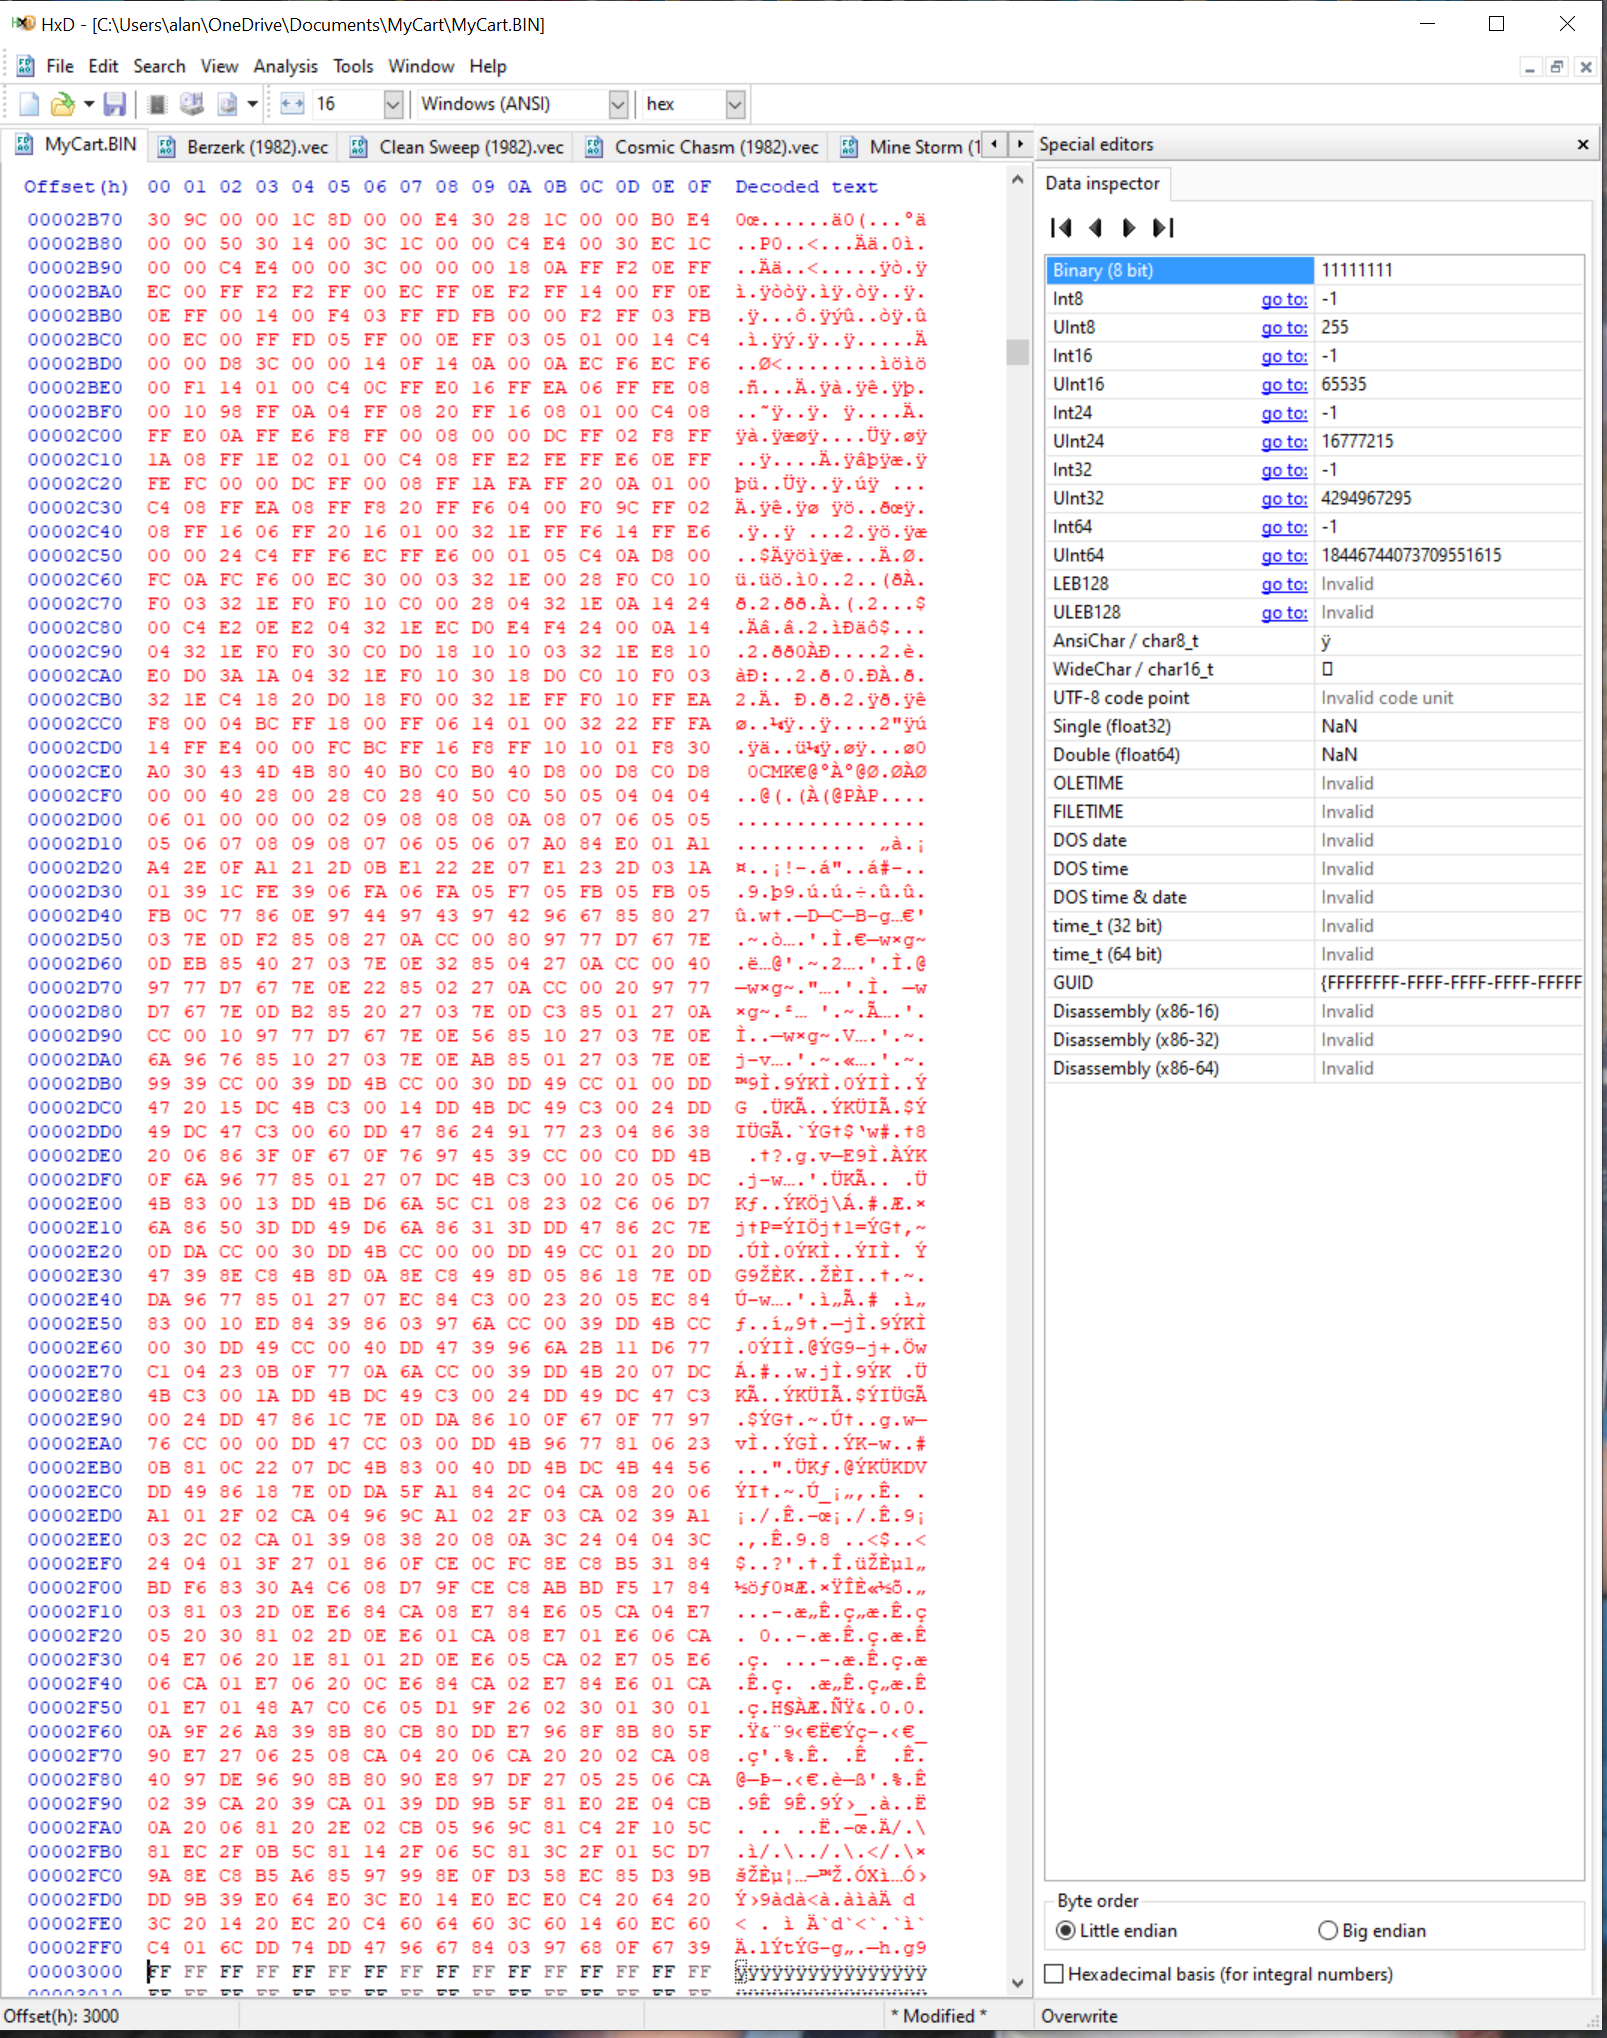
As I have already done save as , all I have to do this time is click on the disk icon underneath the word Edit to save it to my rom file.

and then close the Berzerk.vec tab because it is now written in to my rom file.
Do this for each rom you have , using the start addresses for each rom from the table (have you noticed the mixture of letters and numbers , I told you the start addresses would match with HxD! ) .
When all the tabs are gone except your rom file you have finished .
I told you you did not have to understand it to do it!
Now you just need to burn the file to an eprom!!
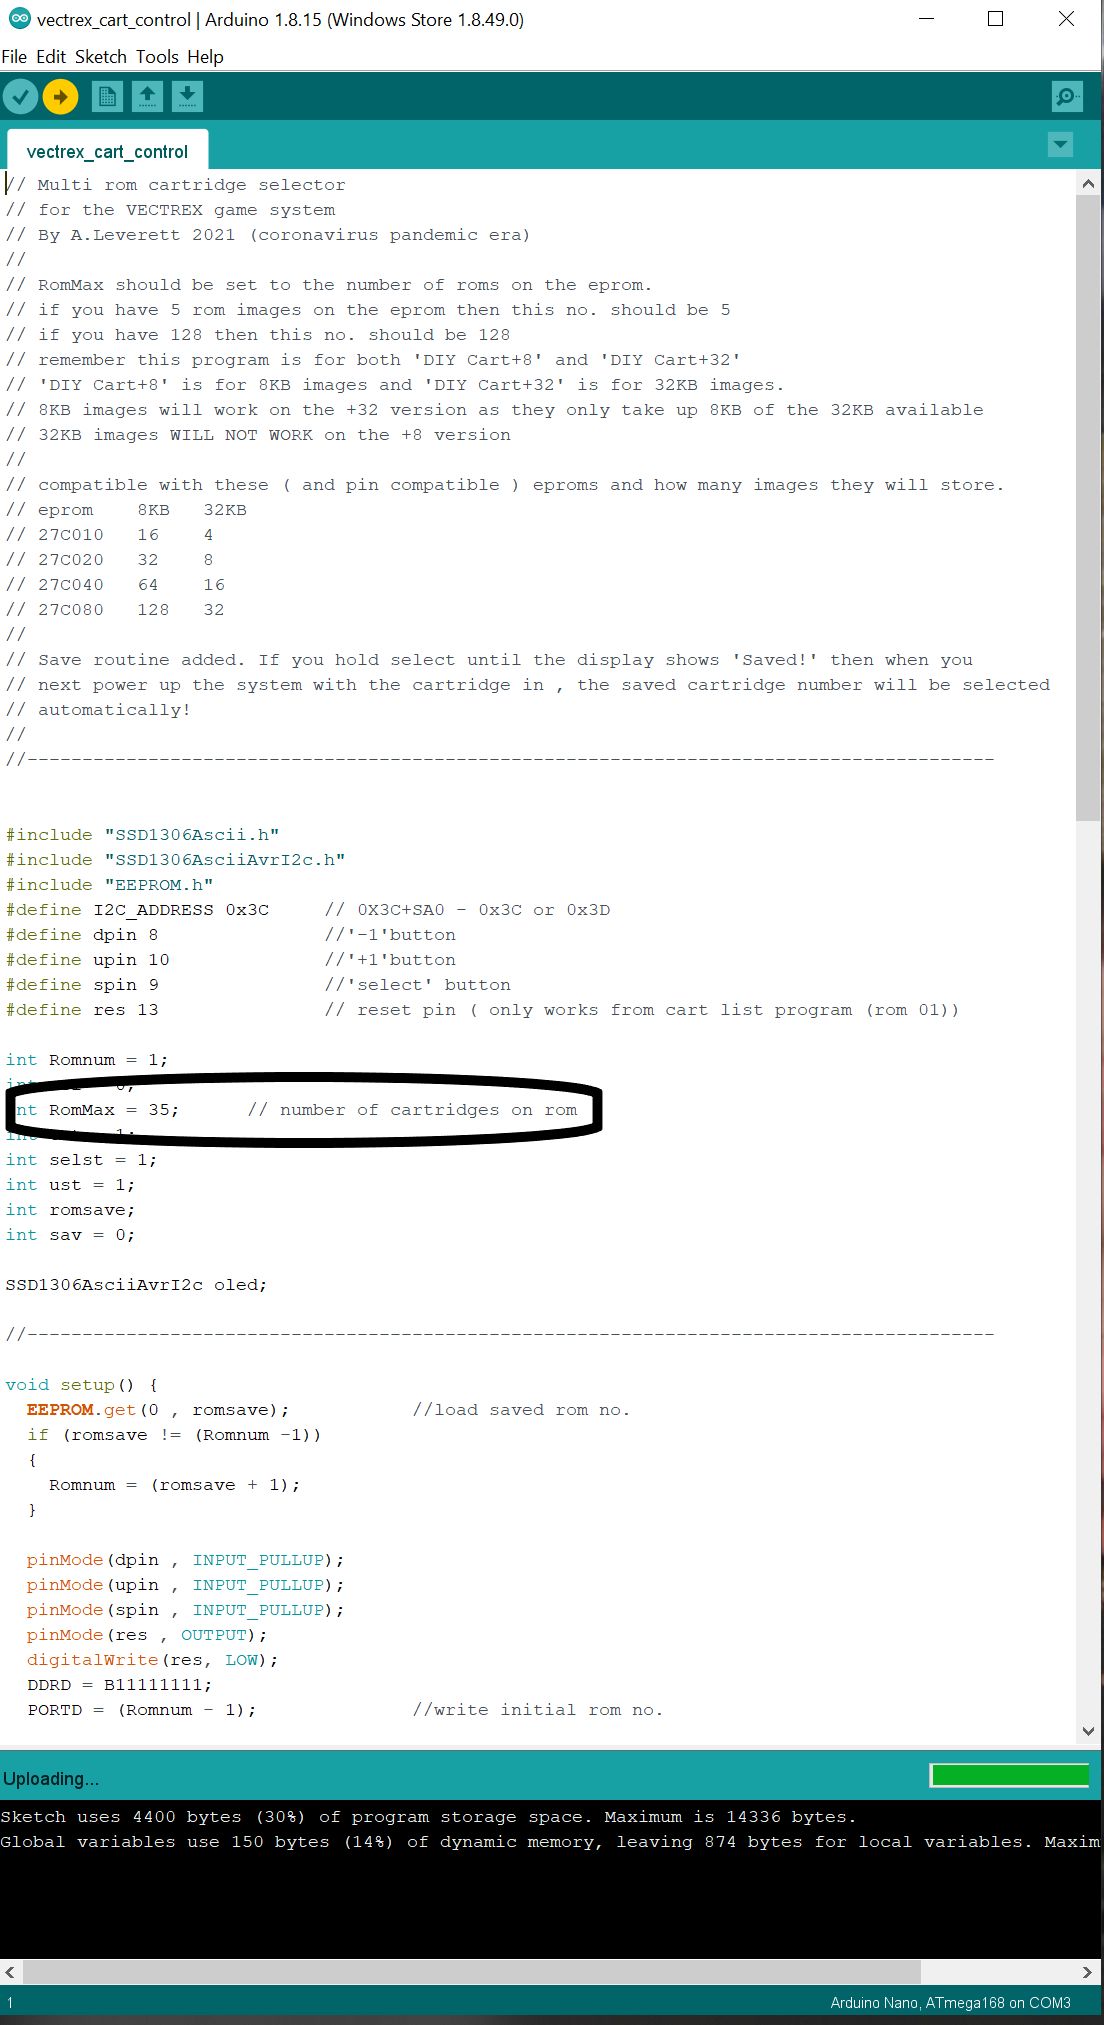
Rember to set the RomMax value to the number of roms on your cartridge when programming the arduino.
I am sure there are people who will help if you ask ( in the USA you could ask at your local makerspace ) or in forums ( AmiBay , vectorgaming.proboards.com or other retro/electronics forums. )
If you are in the UK and don’t mind paying the postage back and forth you can contact me :- diycartroms@levo2.plus.com.
Here it is plugged into a Vectrex!
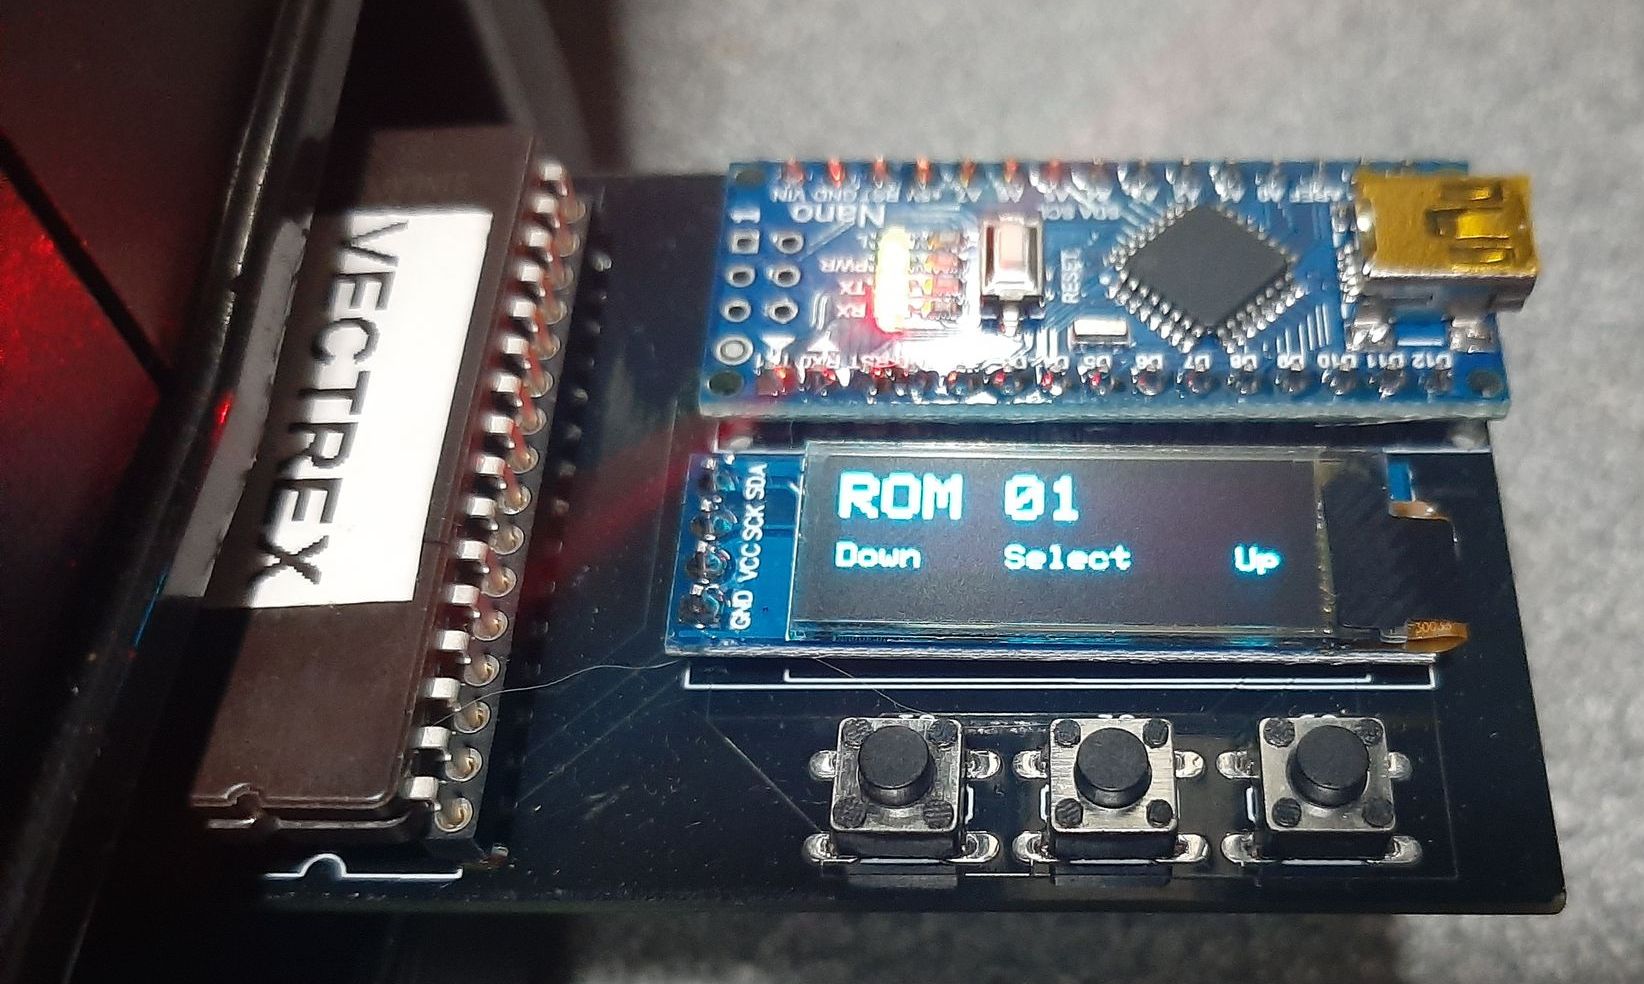
Please excuse the stray hair from the dog!!
Here are some images I have made for you too download , if you want an easier way .
I have an Issue 2 pack - so if it works I'll send the details and you will have a…