
I have created a seperate page for this job , as it is fairly long winded but simple to do.
Now you need to download the arduino IDE if you do not already have it. It is on the microsoft store for free , if you have windows.
If you do not have windows there are plenty of web pages telling you how to install it and where the files are stored. I will only be dealing with windows 10 here.
Then download
UPDATE: An enterpising person has created a menu system that displays the ROM title on the display!!!
If you would like to check out this version of the software it is at
Phill has done a very good job with this and i would advise you to have a look!
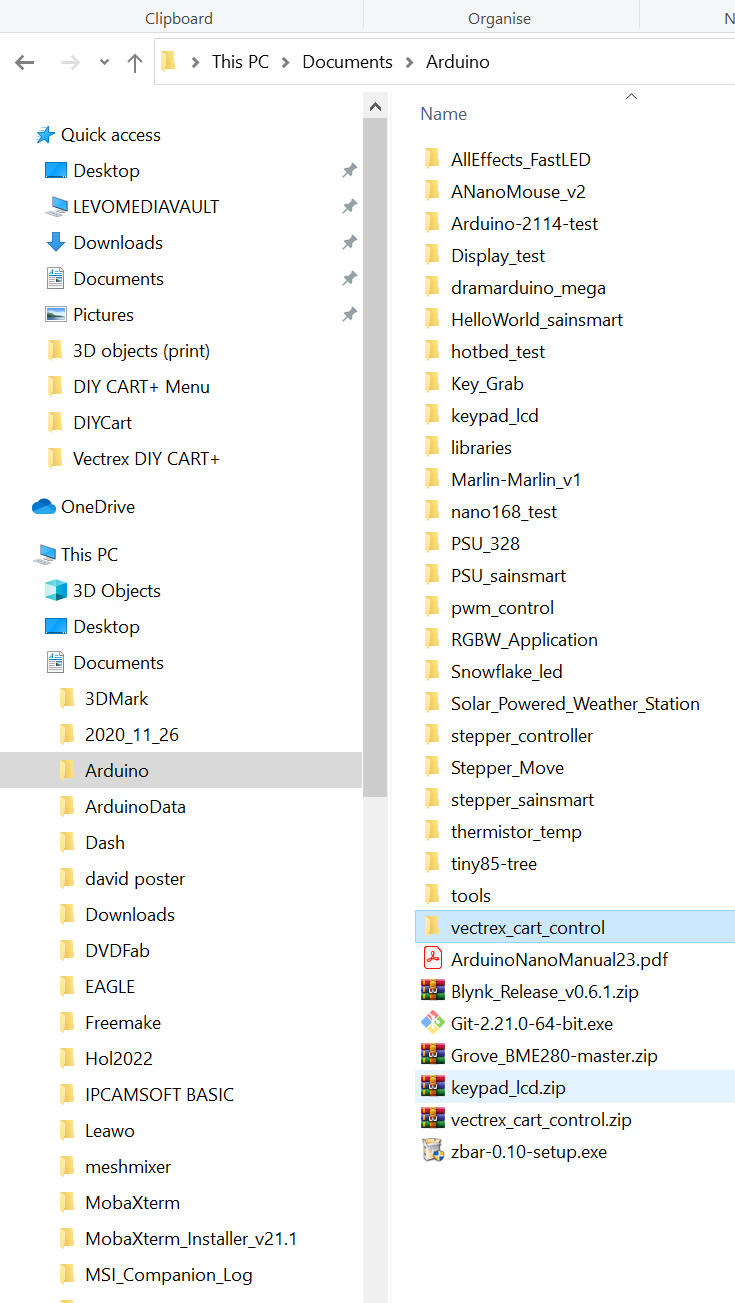
Extract this to your Arduino projects directory ( documents/Arduino by default ) .
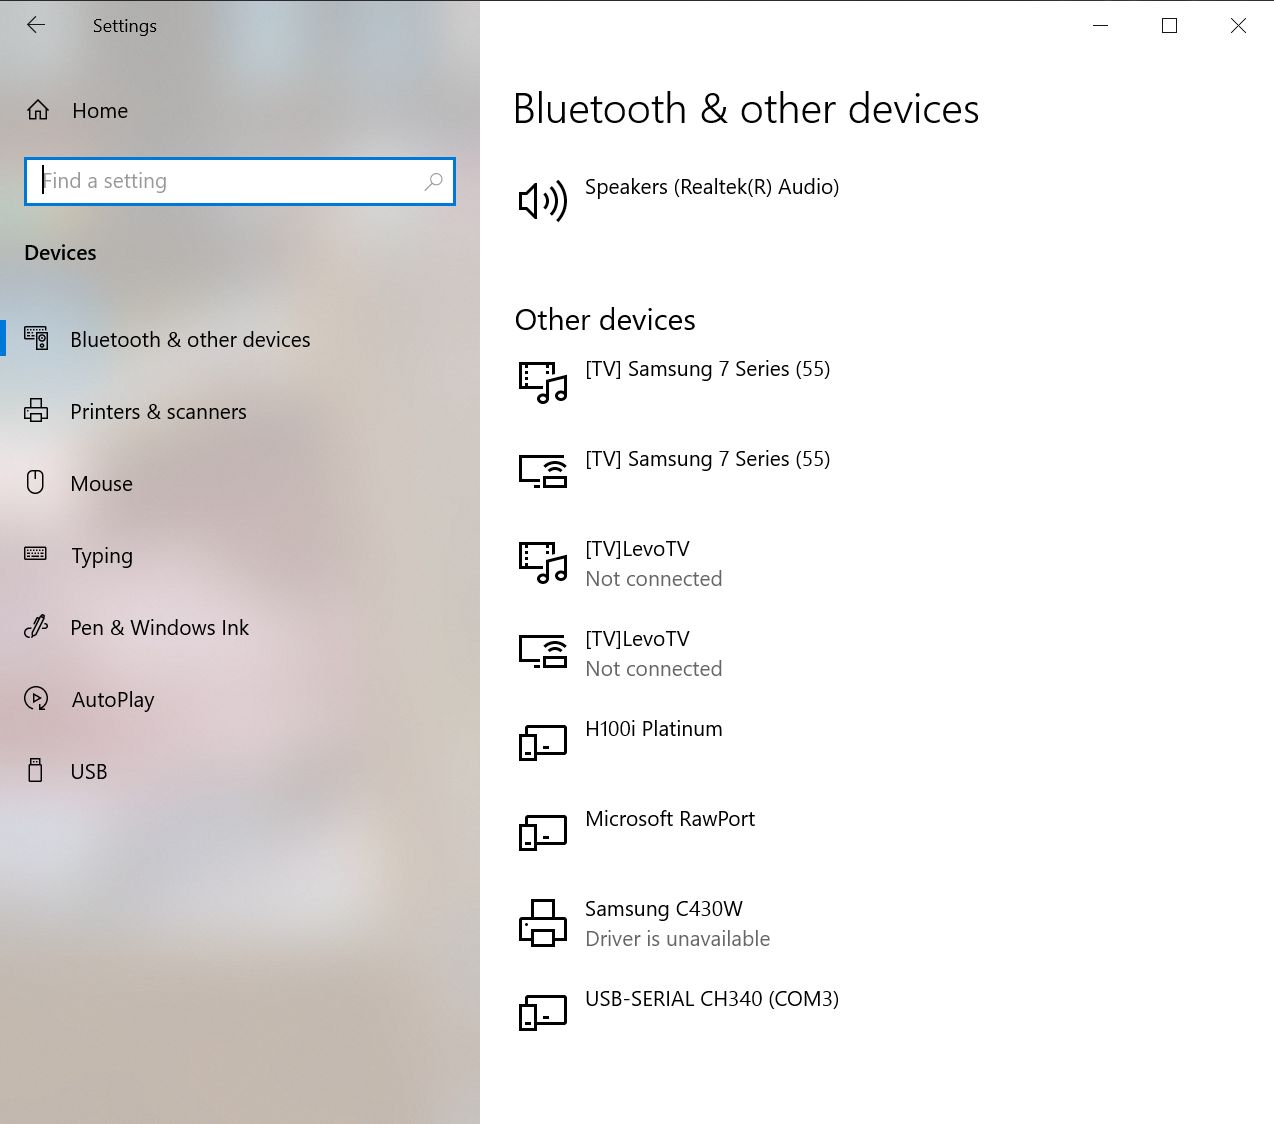
Next connect the nano to the PC with the mini USB lead. We need to know which port it is connected to , to find this go into settings and click on Devices.
This will give a list of devices connected to your computer look for the ‘ USB-SERIAL CH340 (COMx)’ the x is the no. that we need ( mine is COM3 ).
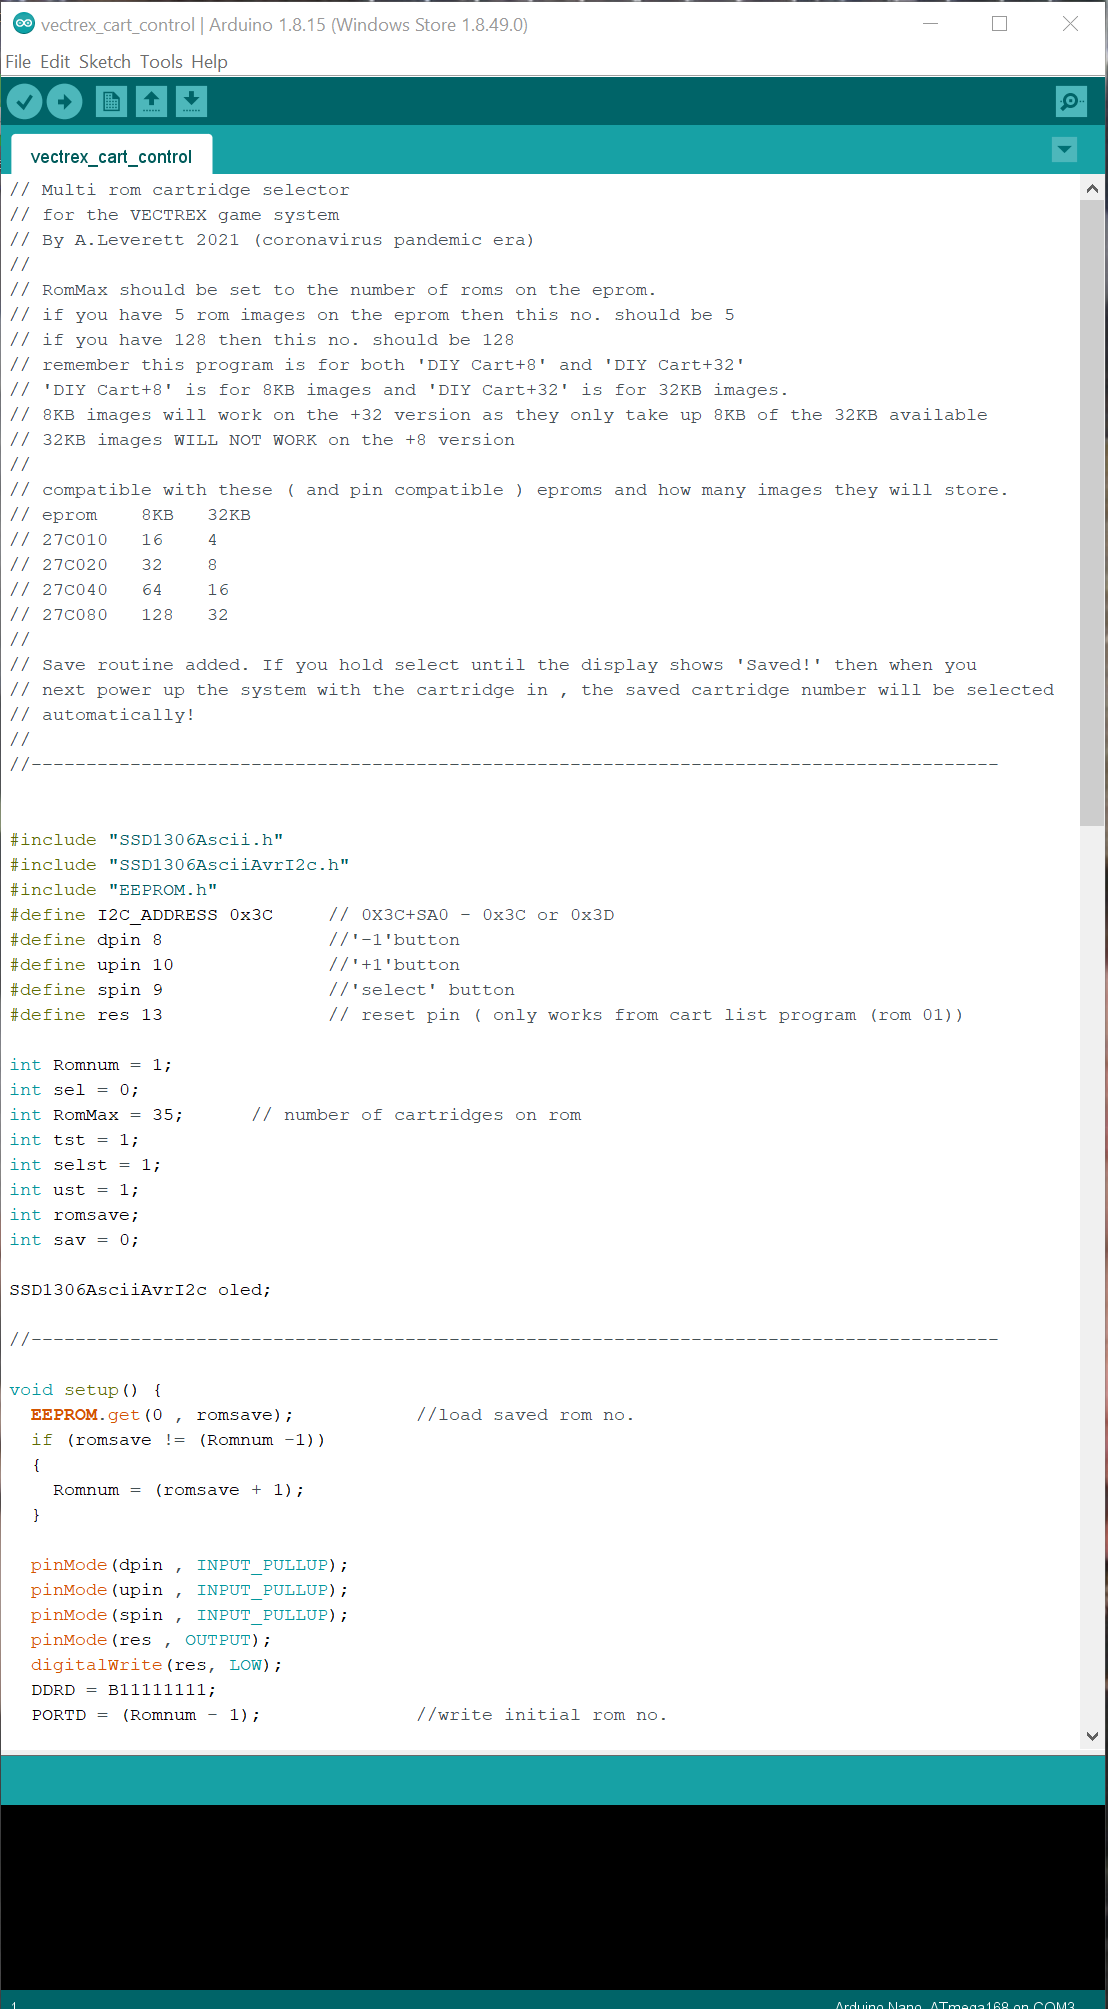
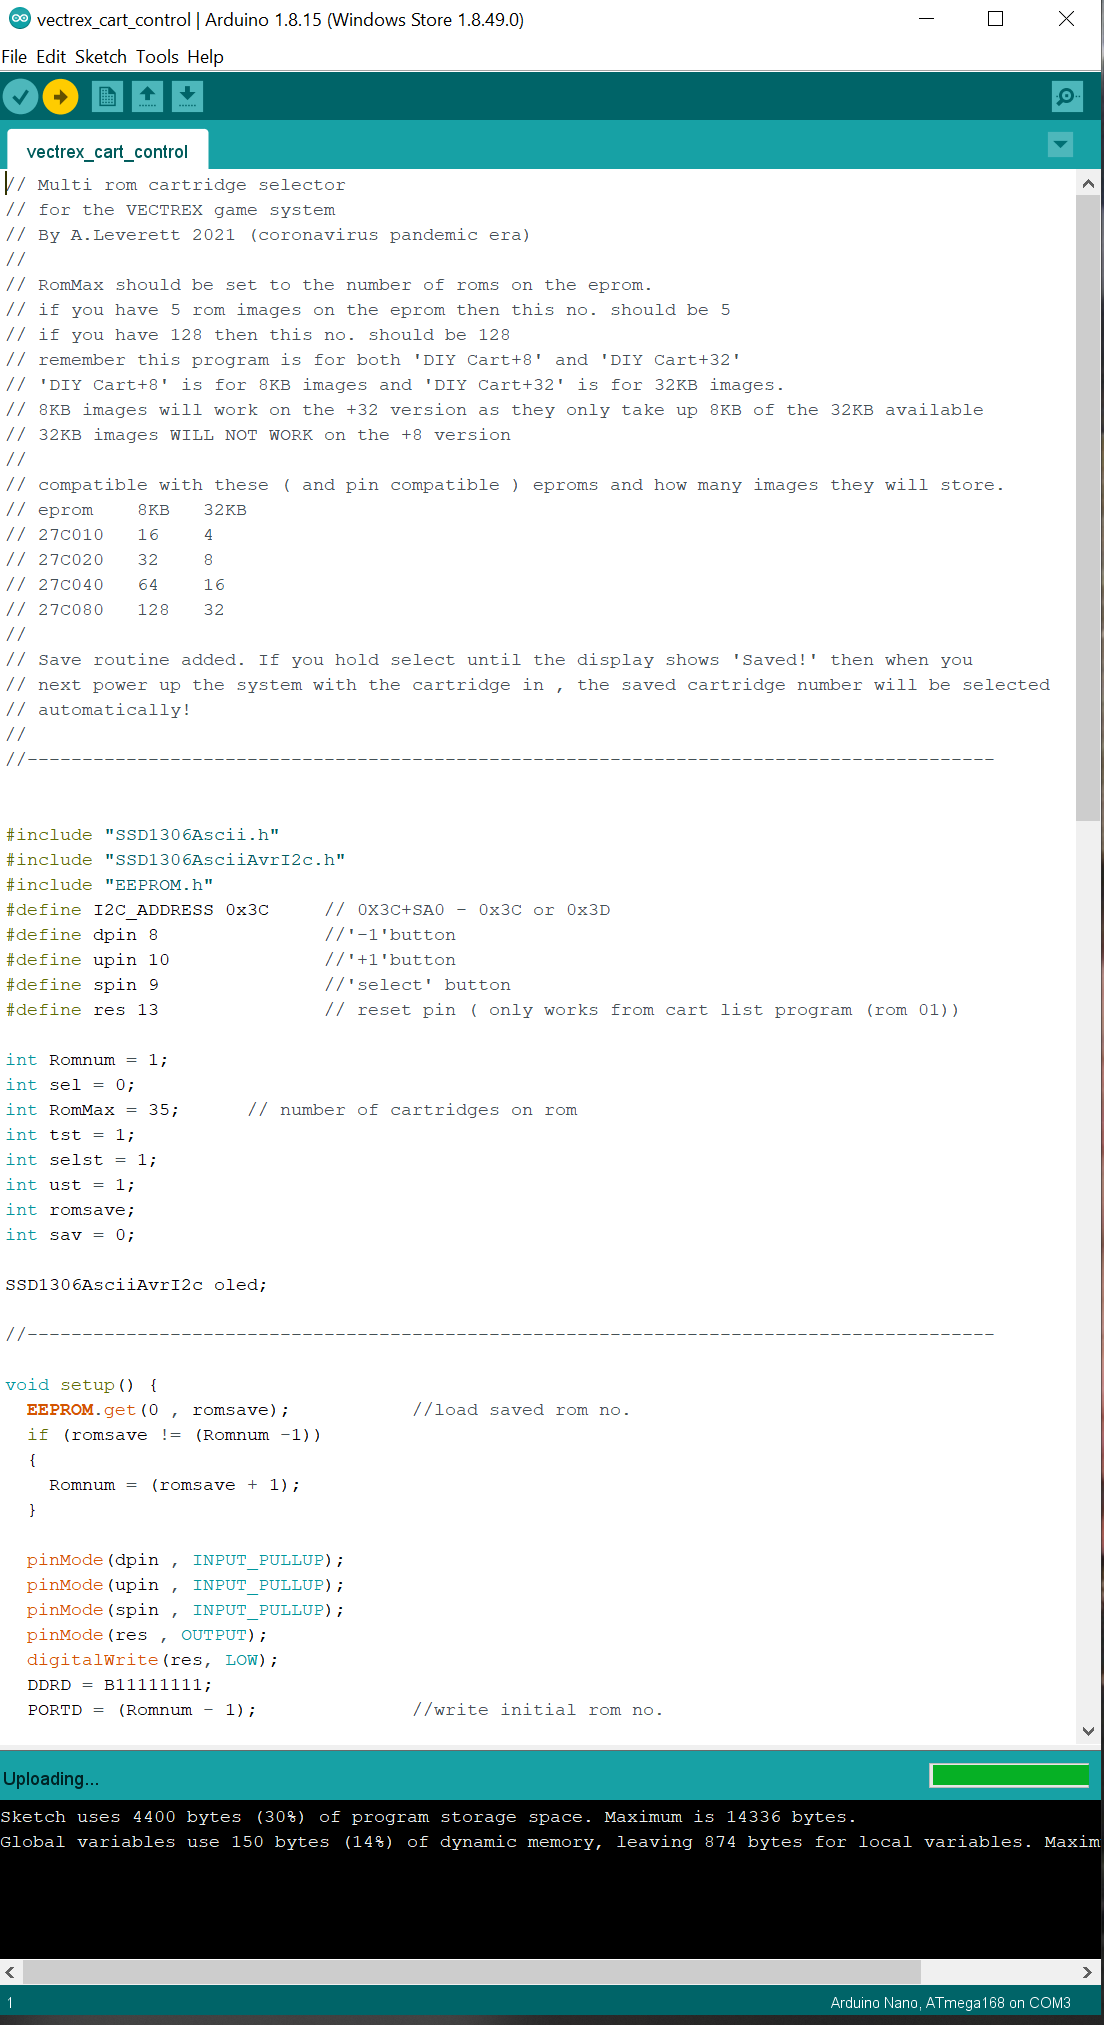
Now run the arduino ide . Click on file and click on open on the list that appears. navigate to the vectrex_cart_control folder that is in your list and click on the vectrex_cart_control.ino and click open. The sketch will appear in the editor window. Do not edit anything unless you have less/more roms ( any bin file I have for you to upload will have the number you need to set RomMax to ).
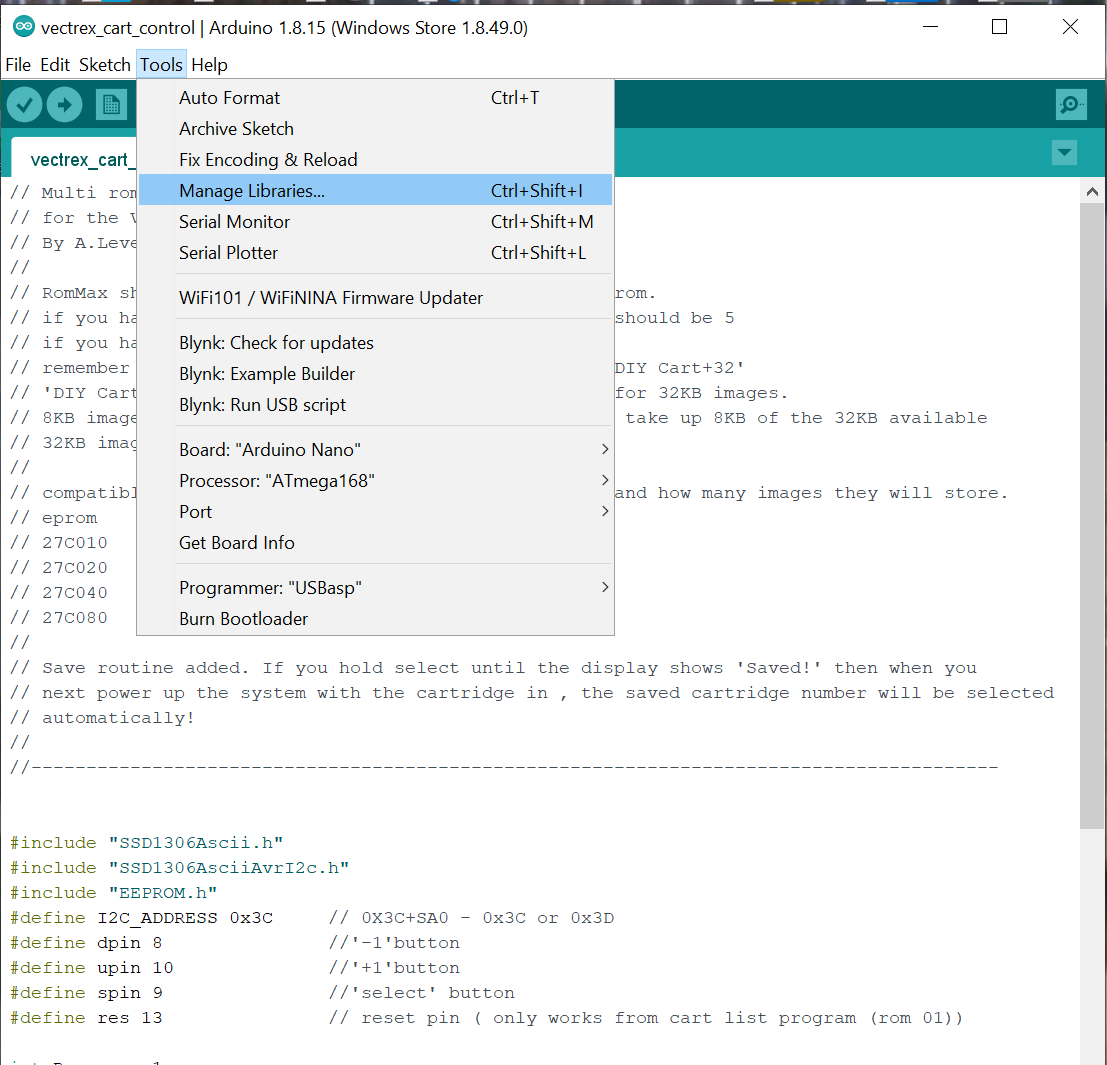
Now you need to install a library from the tools menu.
The library manager window pops up.
Type into the search bar ssd1306Ascii.
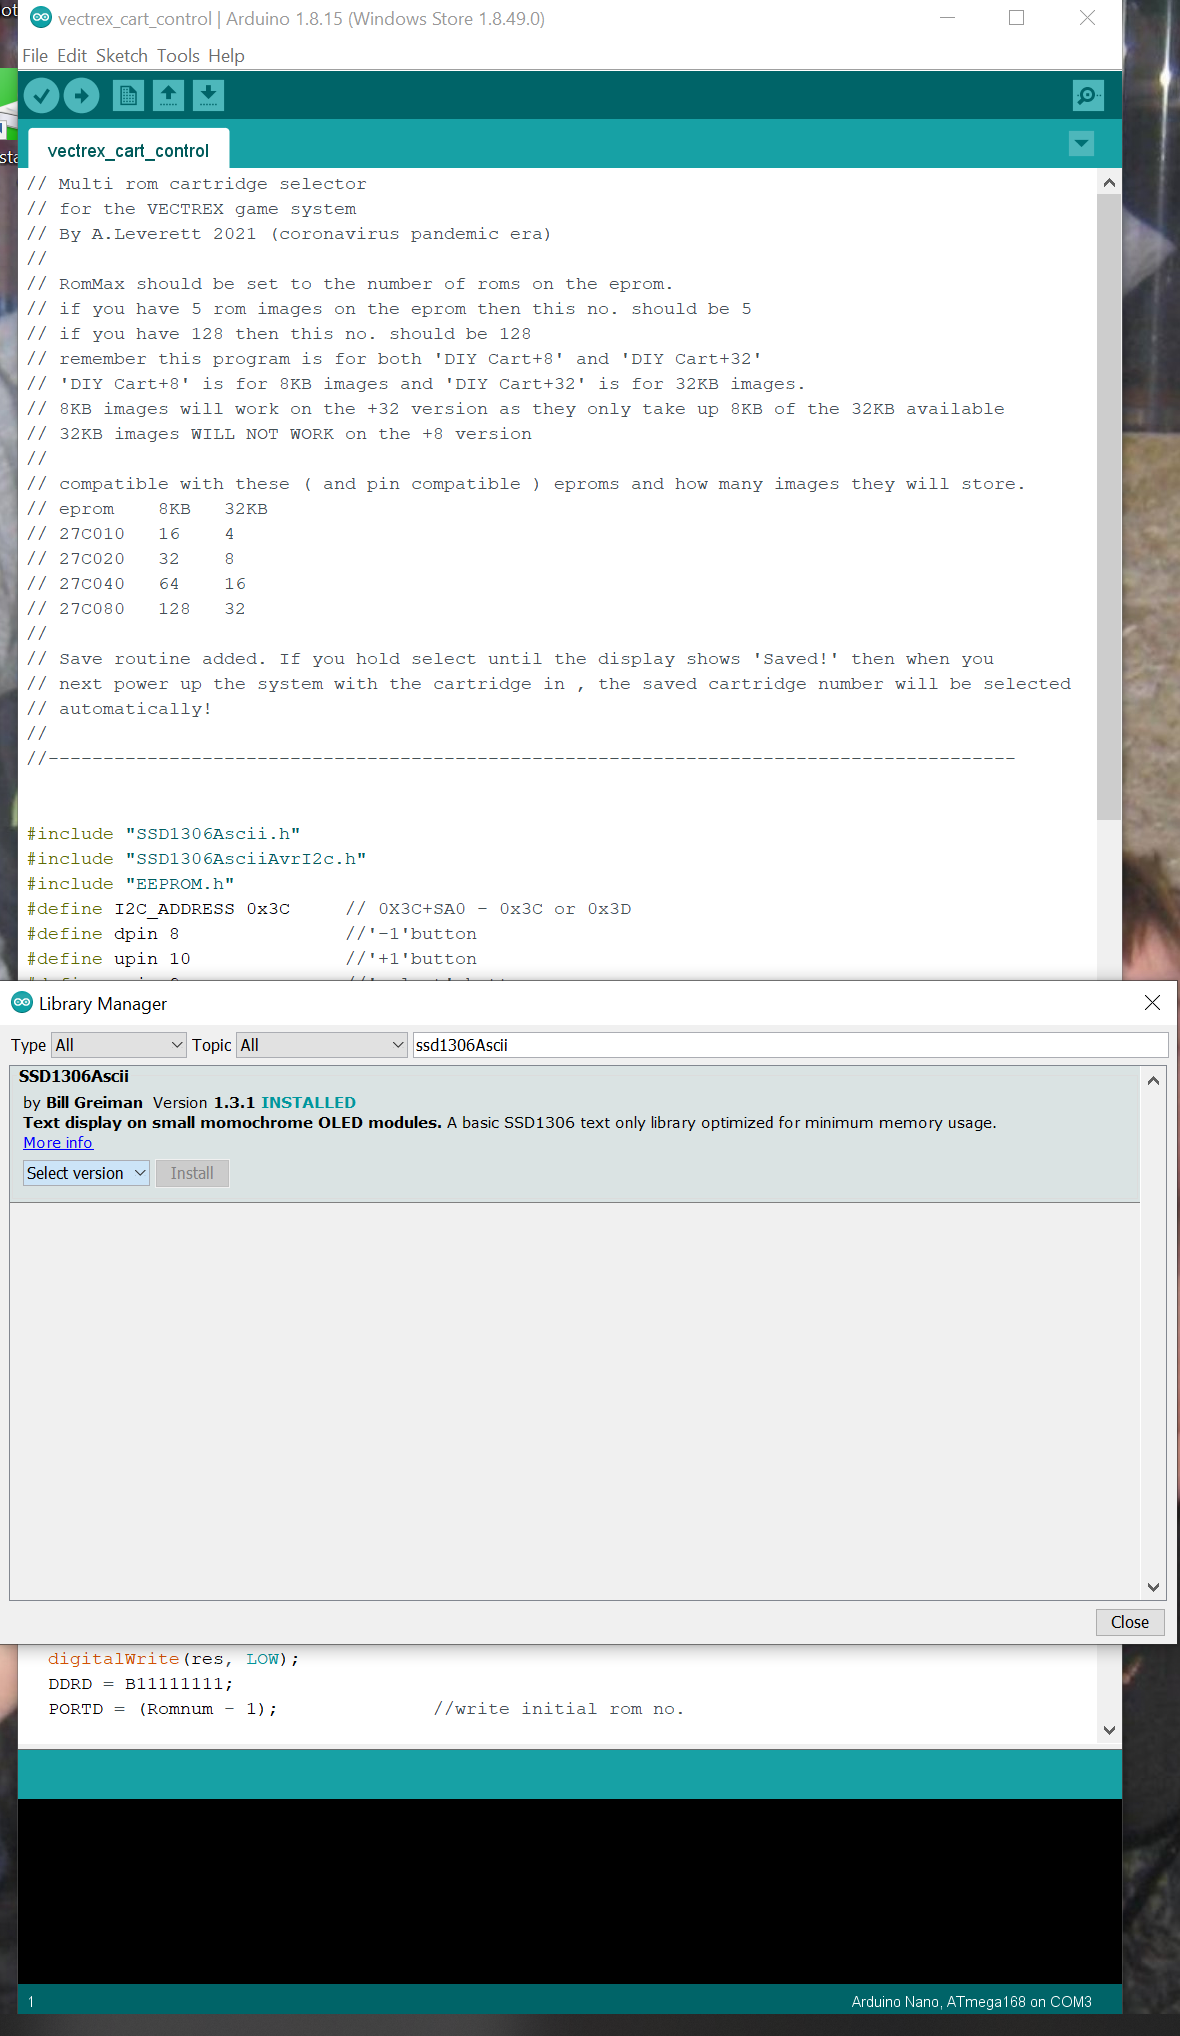
as you can see mine is already installed , but you will need to click install.
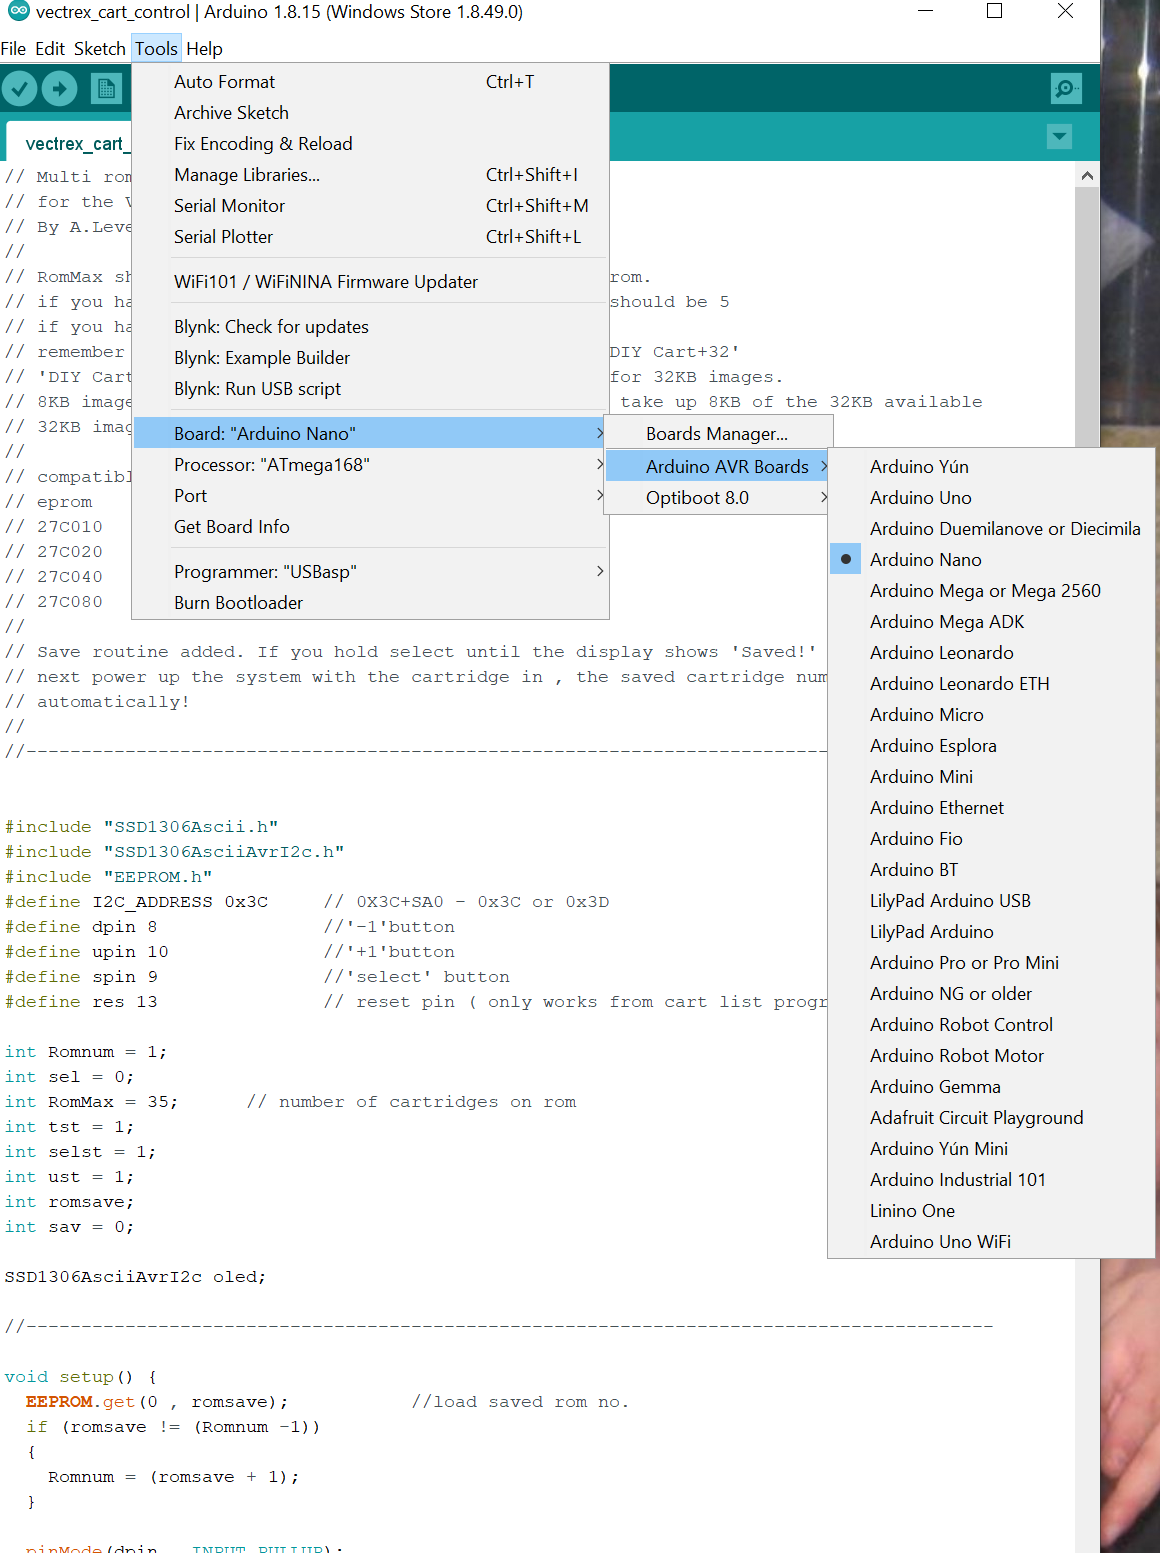
Then we have to setup the editor for your Nano this is done from the tools menu.
First select the board-
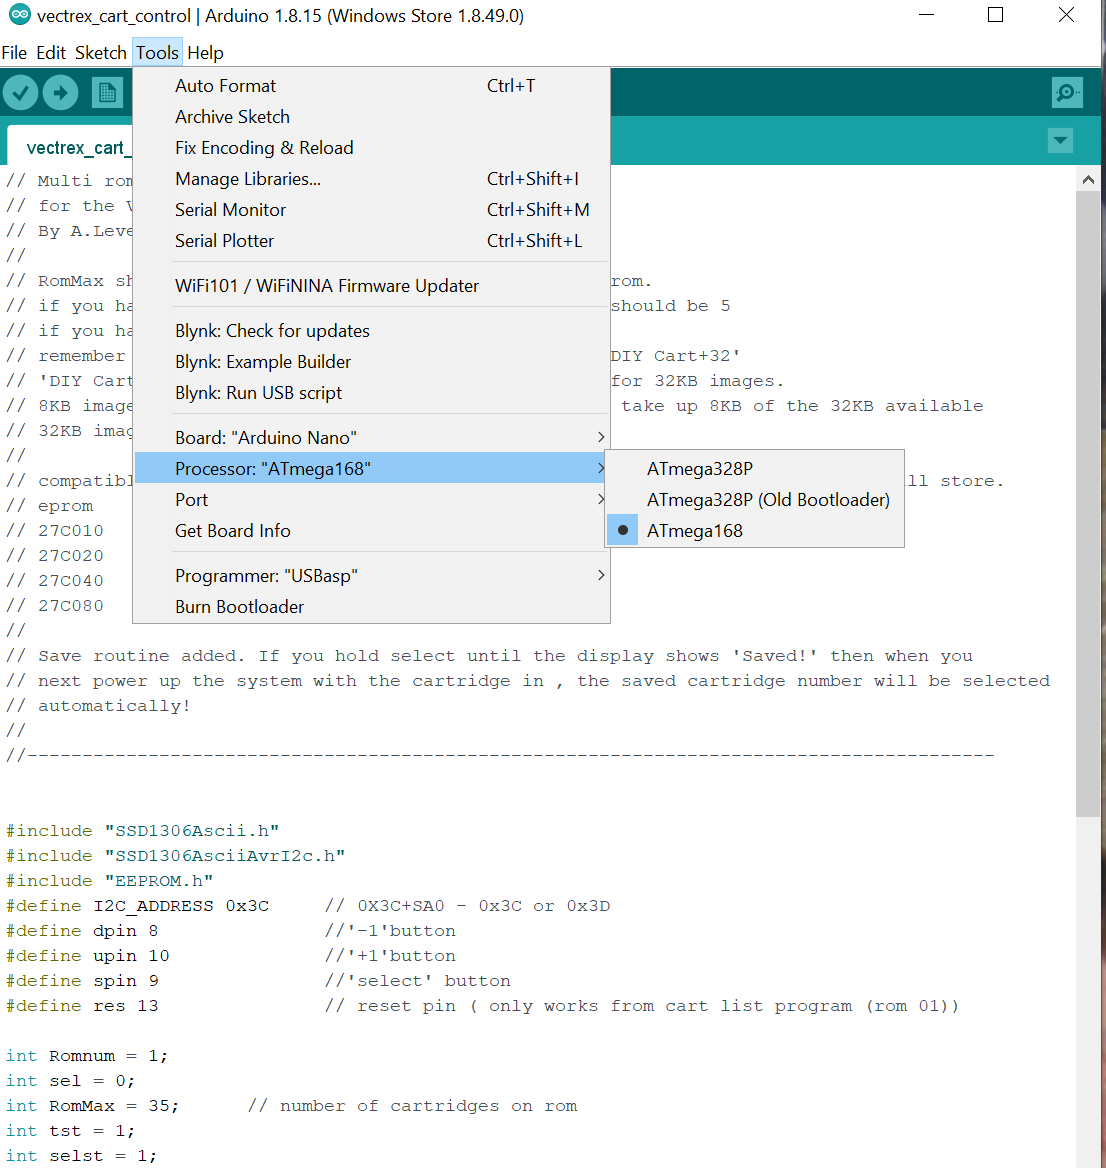
Then the processor ( mine is the 168 but yours could be the 328 )-
Then set the port that you got from settings
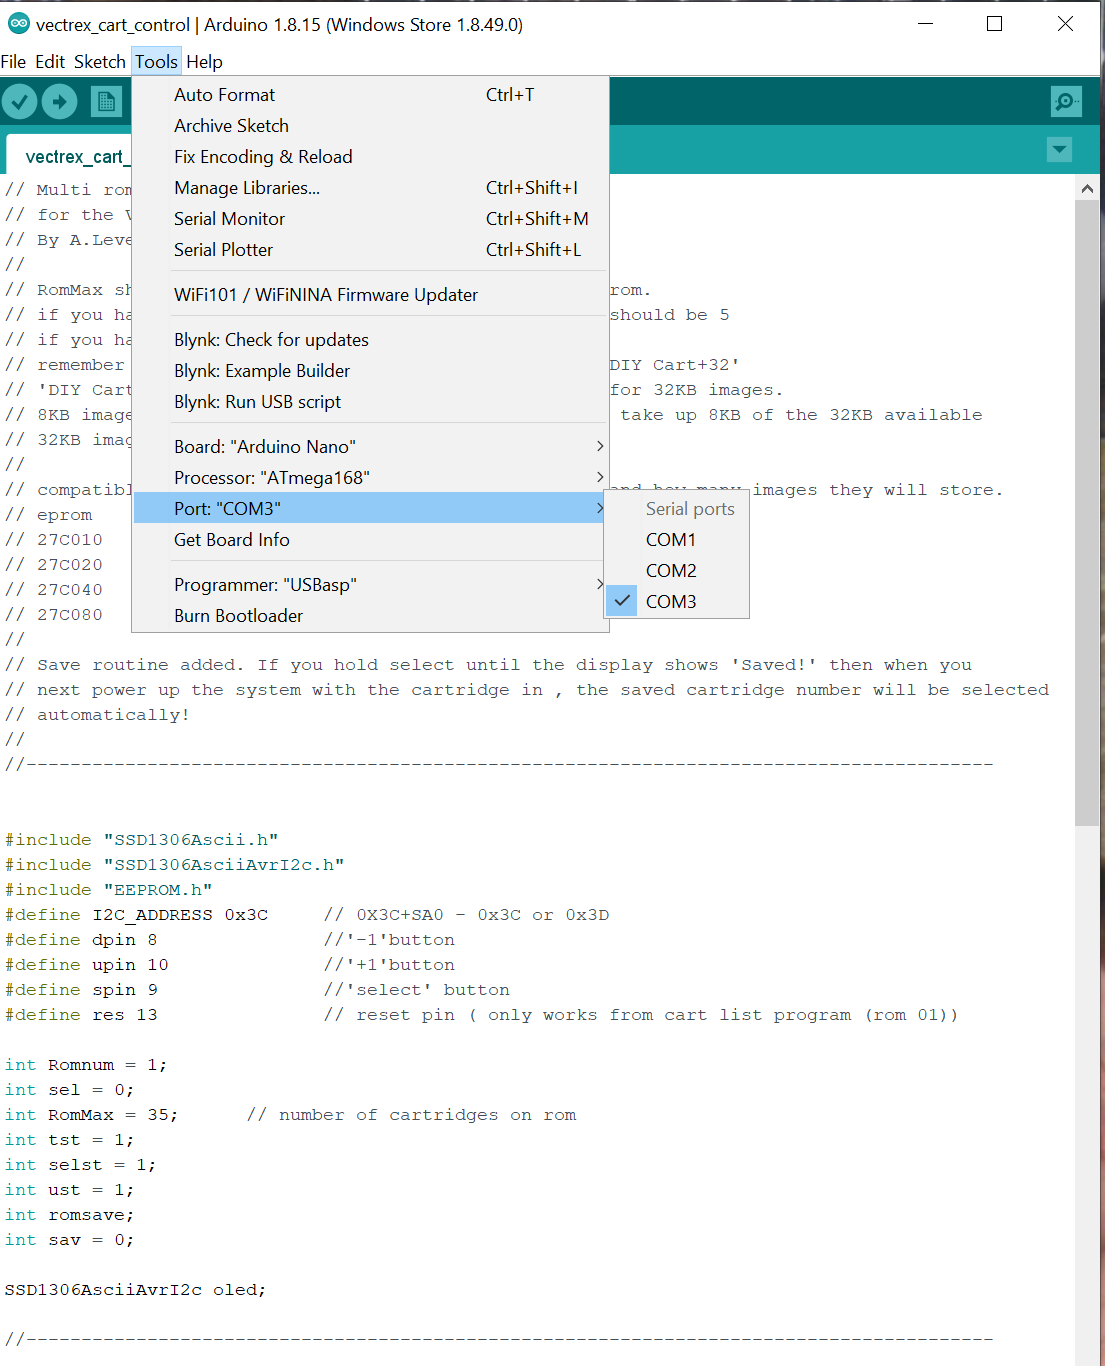
If you have not noticed in the bottom right of the Arduino IDE window it tells you the settings so that you can check they are right before uploading the sketch.
Hit the upload button ( the right arrow under the edit tab ) and once it has compiled it will upload to your Nano.
That is it , your arduino is programmed ready for use.
It wasn’t THAT hard was it!!!
Next step Creating a .Bin file to program the eprom!
Next : Let’s Make a Rom.
I have an Issue 2 pack - so if it works I'll send the details and you will have a…